Task 1 - Services and Phases
Goals
In this task, you will learn how to:
- Build an interactive service form in your NCAE
- Build a Python script phase for running some code
- Combine these two to create your first service
Service Creation - Basics
Ensure you are connected to the lab network with the provided AnyConnect credentials.
Open up your NCAE instance (ncae-training-X.netcloud.lab, where X is your lab number) in a browser of your choice
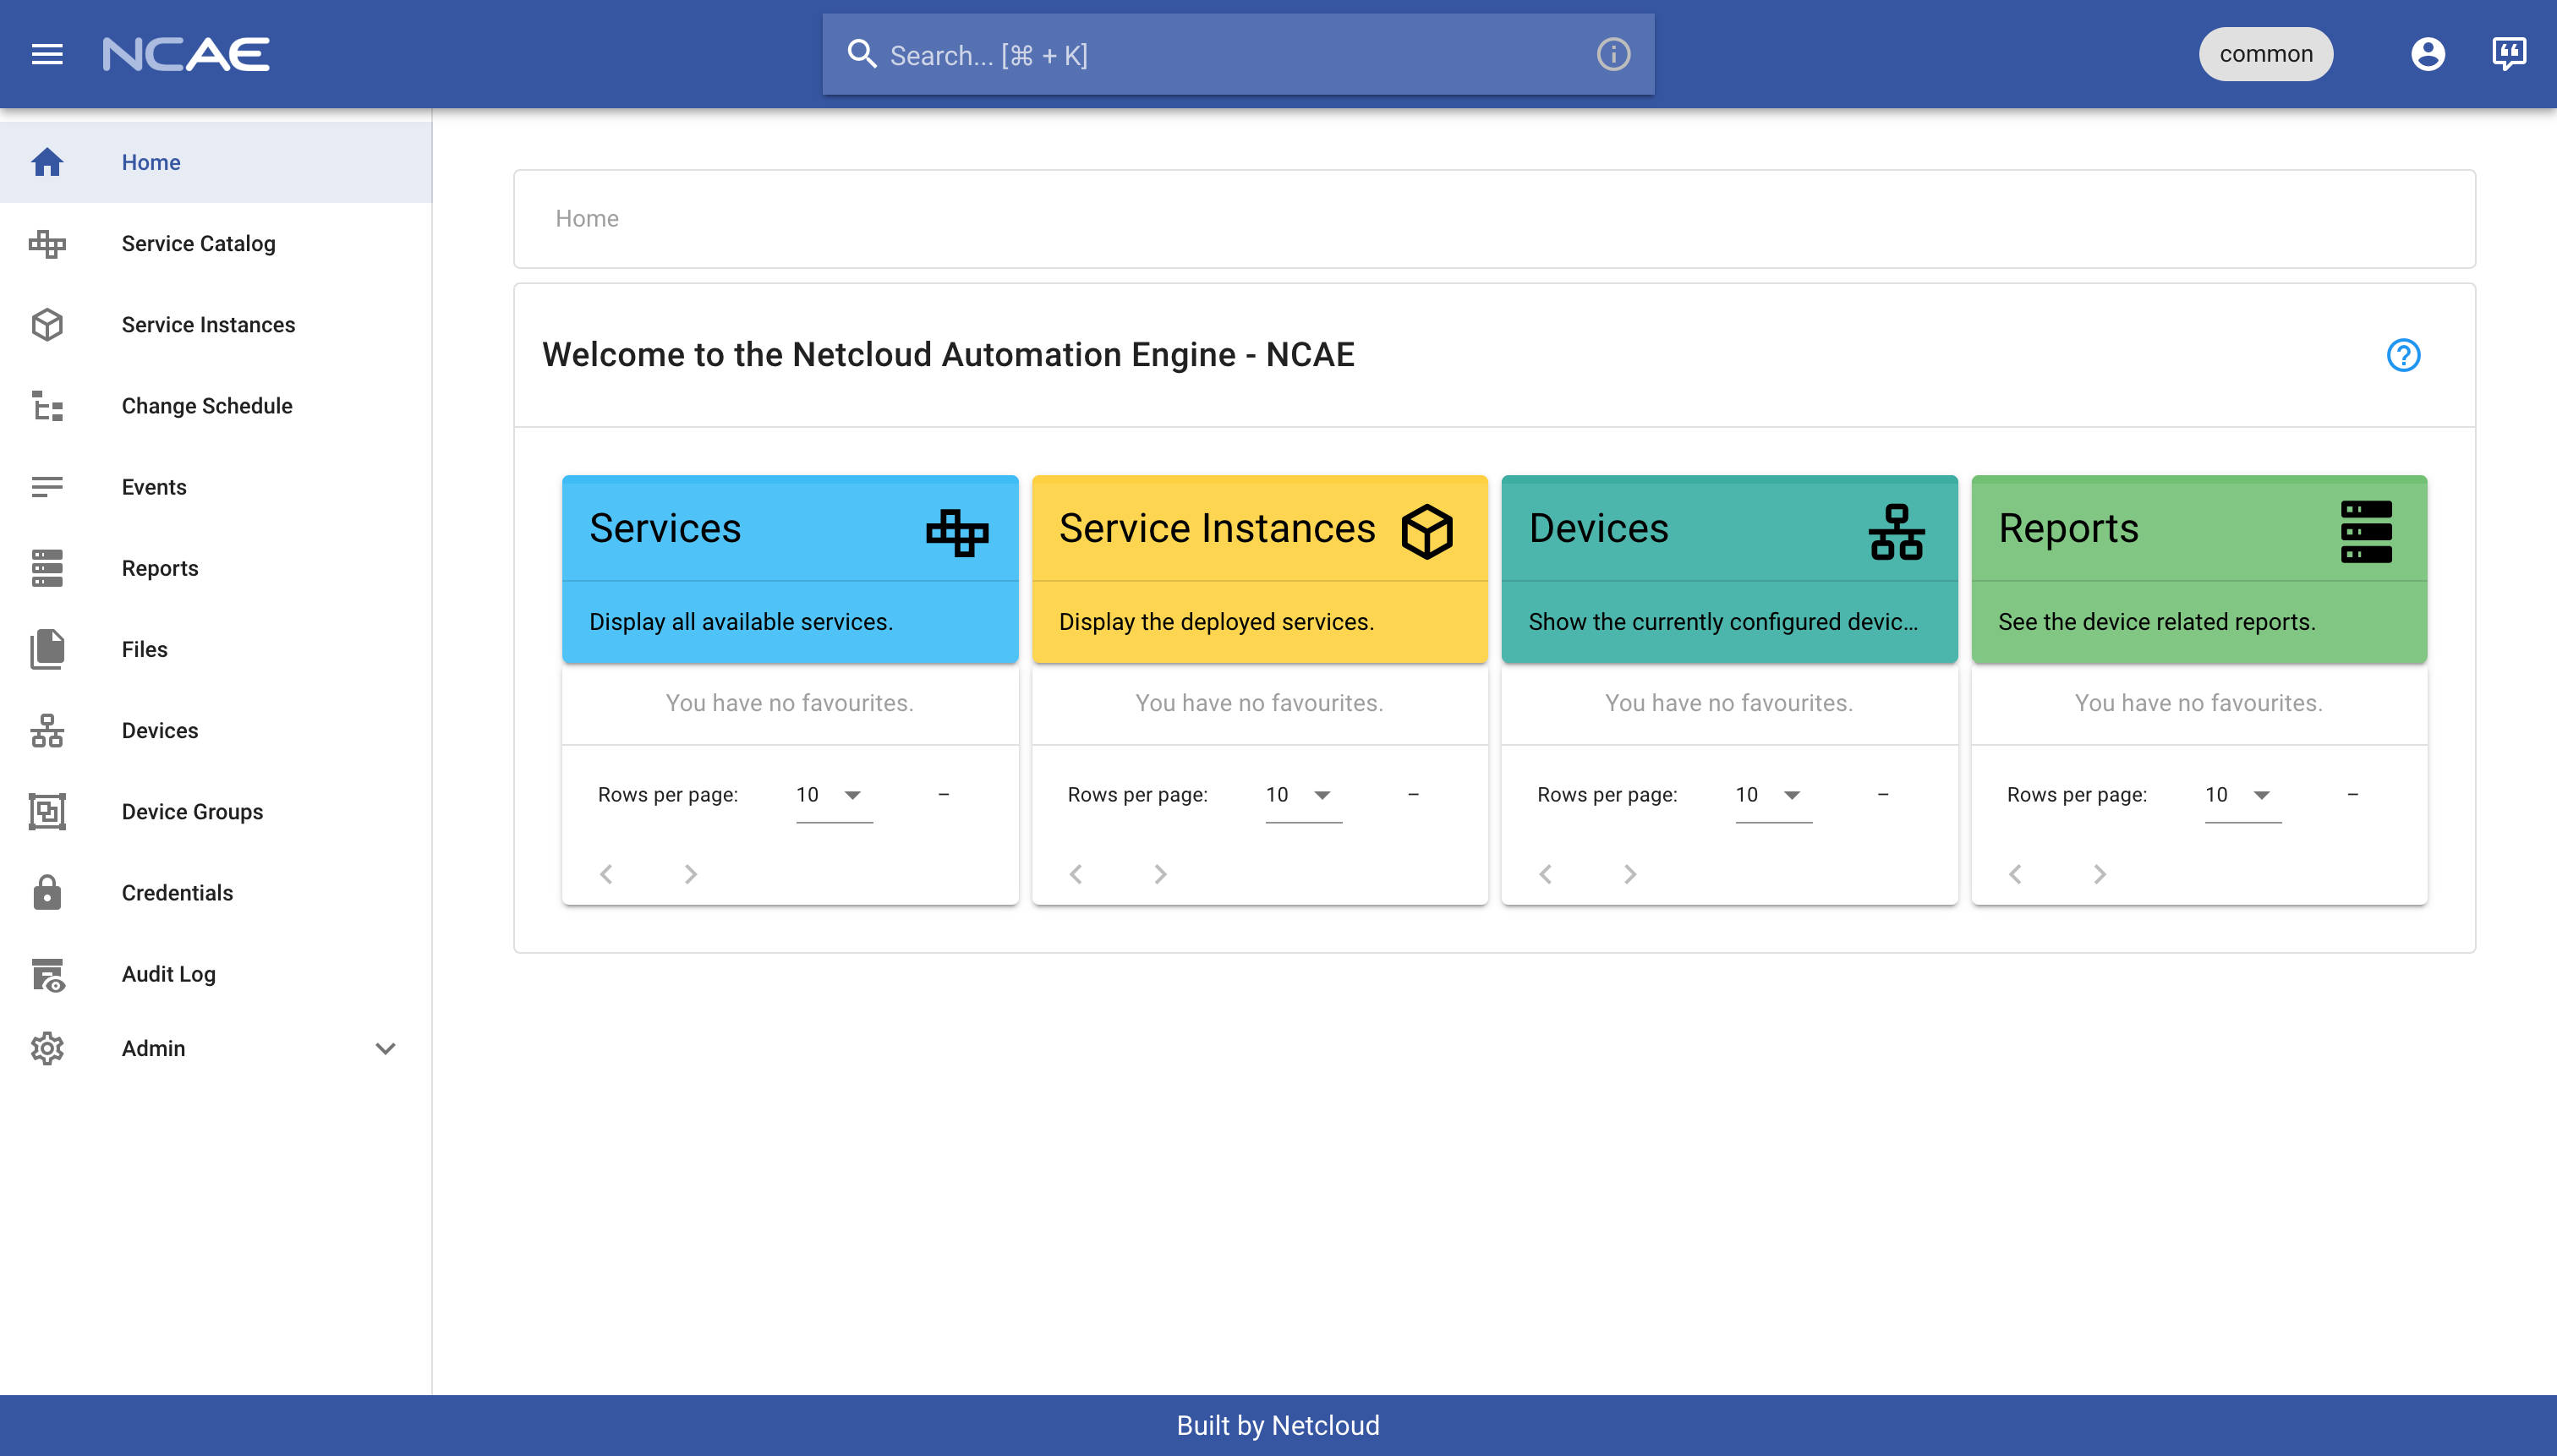
and login as admin with the password Welcome2School. after which the dashboard should appear:
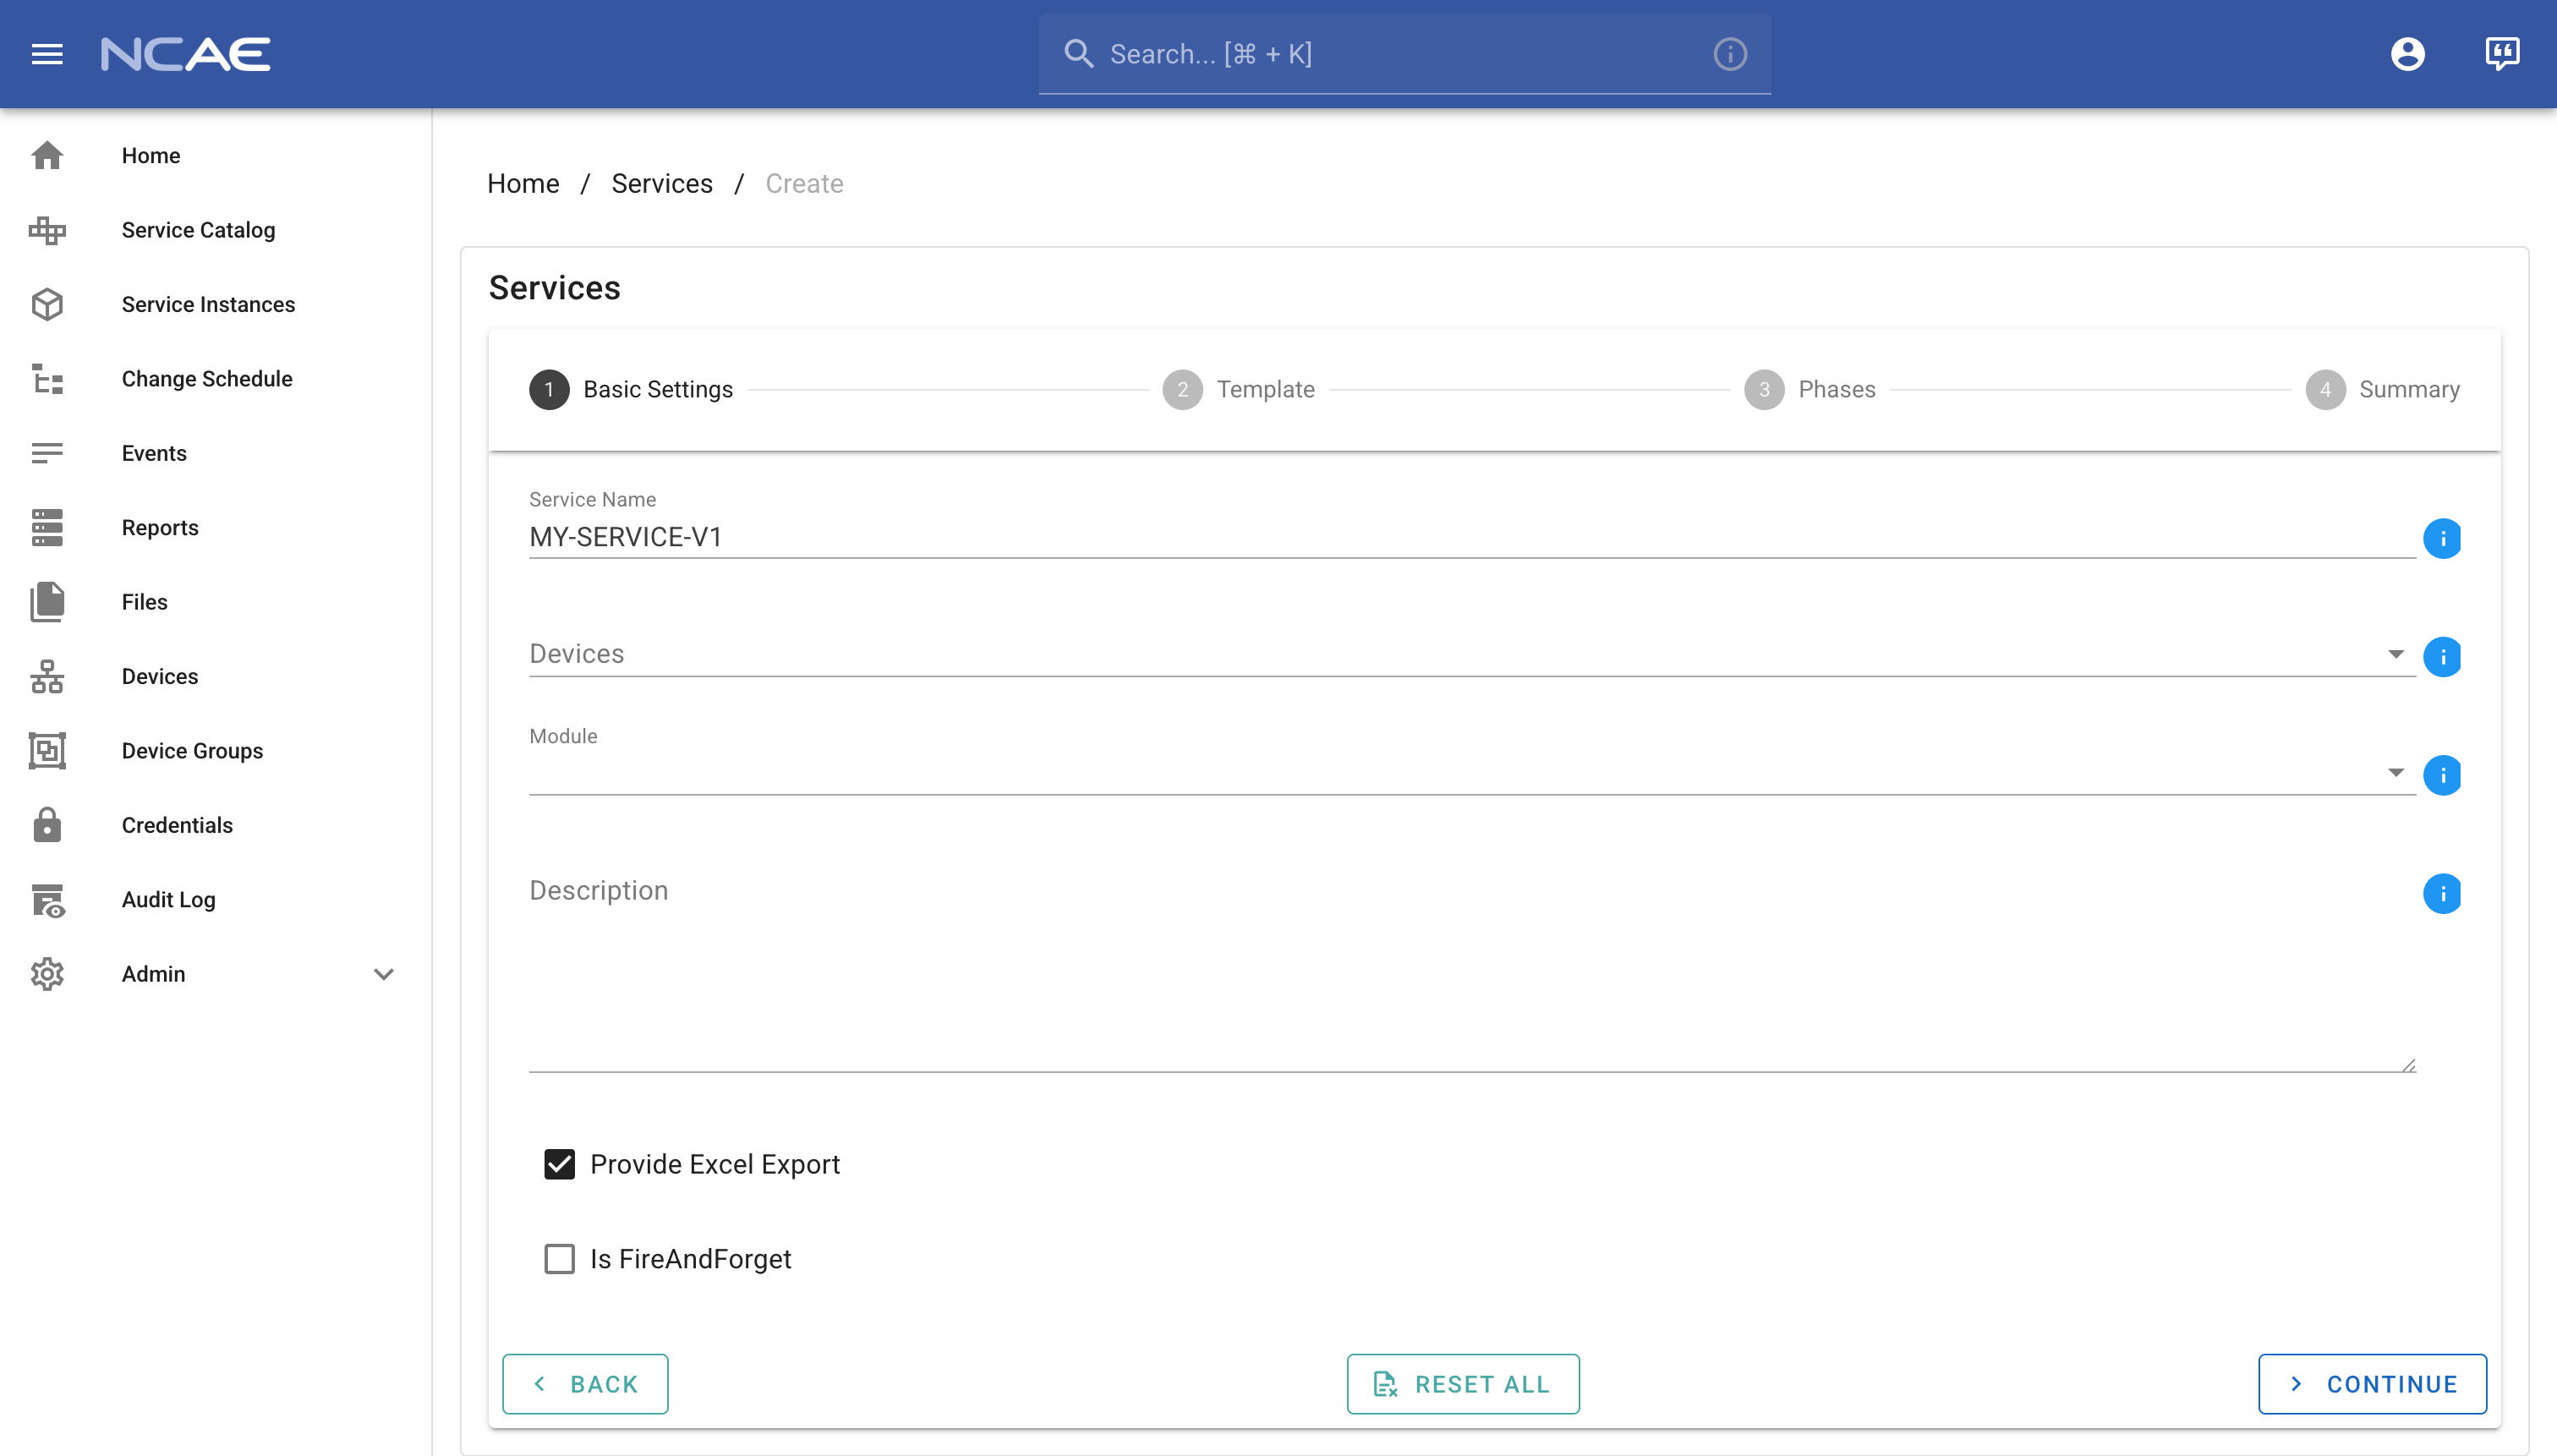
Navigate to the “Service Catalog” page through the navigation menu on the left, then click on “Add Service” at the
bottom of the services list. You will now be on the first step of the service creation process, where you will need to
enter the name of your service. Choose MY-SERVICE-V1 as the name and you should end up with a screen that looks like
this:
Click on “Continue” to move on to the next step, where you will design the interactive form for your service.
Service Creation - Template
The second step of the creation process is where you design the interactive service form which is used when creating or updating service instances. On the left hand side, the various input field types are available, and on the right side, you see which fields are currently active.
One field is present by default, called Service Instance Name, which must be present in all services and is used to
name the service instance when creating it.
Start by dragging the ServiceInstanceTargetInput below the Service Instance Name field, which will add a new field
to the form. This field is used to indicate that this service will work with one or more devices, which can be selected
when creating a service instance. You do not need to make any changes to it.
Lets imagine that our service requires an email address to do something, so lets add a new TextInput field. Drag it
from the left side to the right side, underneath the Service Instance Target field. The field configuration will
automatically unfold and you can now configure how the field should behave:
- Label: is the human-readable name of the field, displayed in the form, lets use
Email Address - Name: is the internal name of the field, used in phases and scripts, so use
emailas a computer-friendly name - Required: indicates whether this field must be filled in when creating a service instance, lets keep this checked
- Editable: decides if the field can be updated once an instance has been created - lets check this as well
You can ignore any other fields for now and you should end up with a form that looks like this:

Click on “Continue” to move on to the next step, where you will add a phase to your service.
Service Creation - Phases
The third step of the creation process is where you add phases to your service. As part of this task, you will add a single Python script phase, which will run a simple script that prints the email address provided in the form.
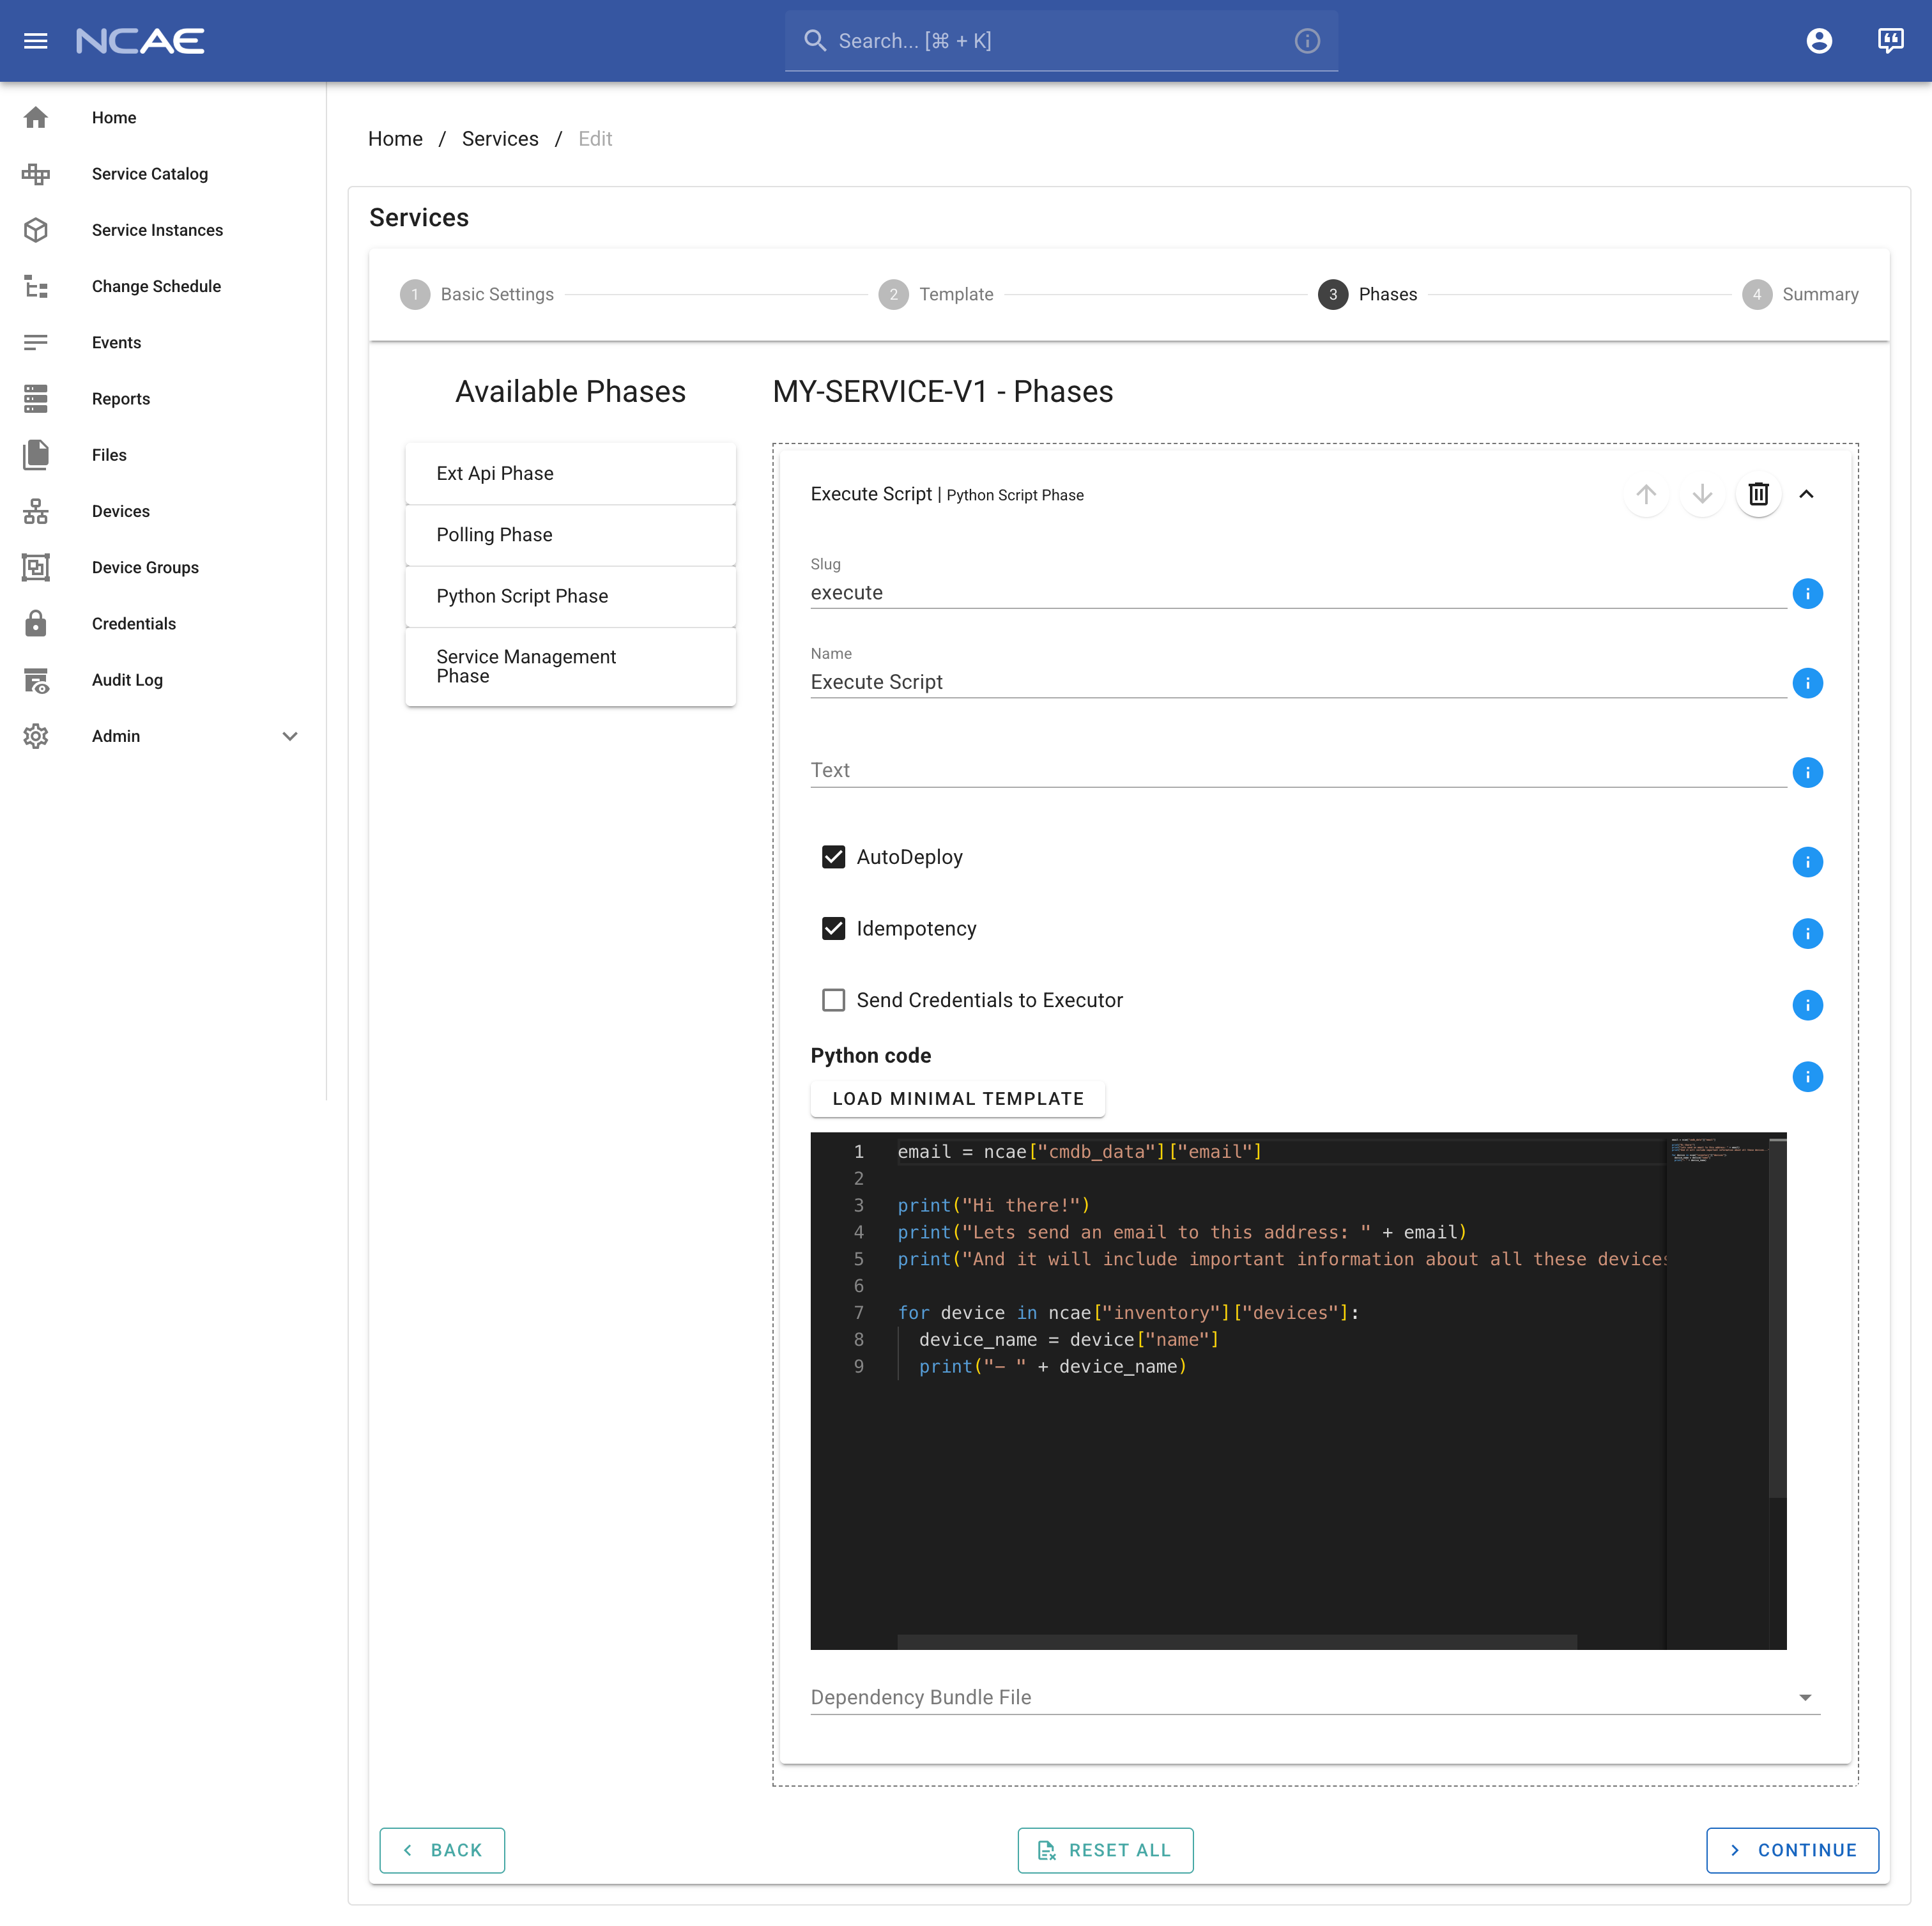
Once again you have a layout where you can simply drag the phase type you want from the left side to the right side to add it to your service. Drag the “Python Script Phase” phase into the right side, and configure it as follows:
- Slug: is a unique identifier for the phase, which should never be changed once set - use
executehere - Name: is the human-readable name of the phase, changeable anytime - use
Execute Scripthere - Text: is an optional description giving more context what the phase does - can be left empty
- Auto Deploy: should be enabled, so that submitting the form will automatically run this phase
- Idempotency: should be enabled, allowing you to run the same phase more than just once
- Script: is the actual Python code that will be executed when this phase runs - use the following code:
email = ncae["cmdb_data"]["email"]

print("Hi there!")
print("Lets send an email to this address: " + email)
print("And it will include important information about all these devices...")

for device in ncae["inventory"]["devices"]:
  device_name = device["name"]
  print("- " + device_name)
You should end up with a phase configuration that looks like this:
Click on “Continue” to move on to the final step, where you can review your service configuration before saving it.
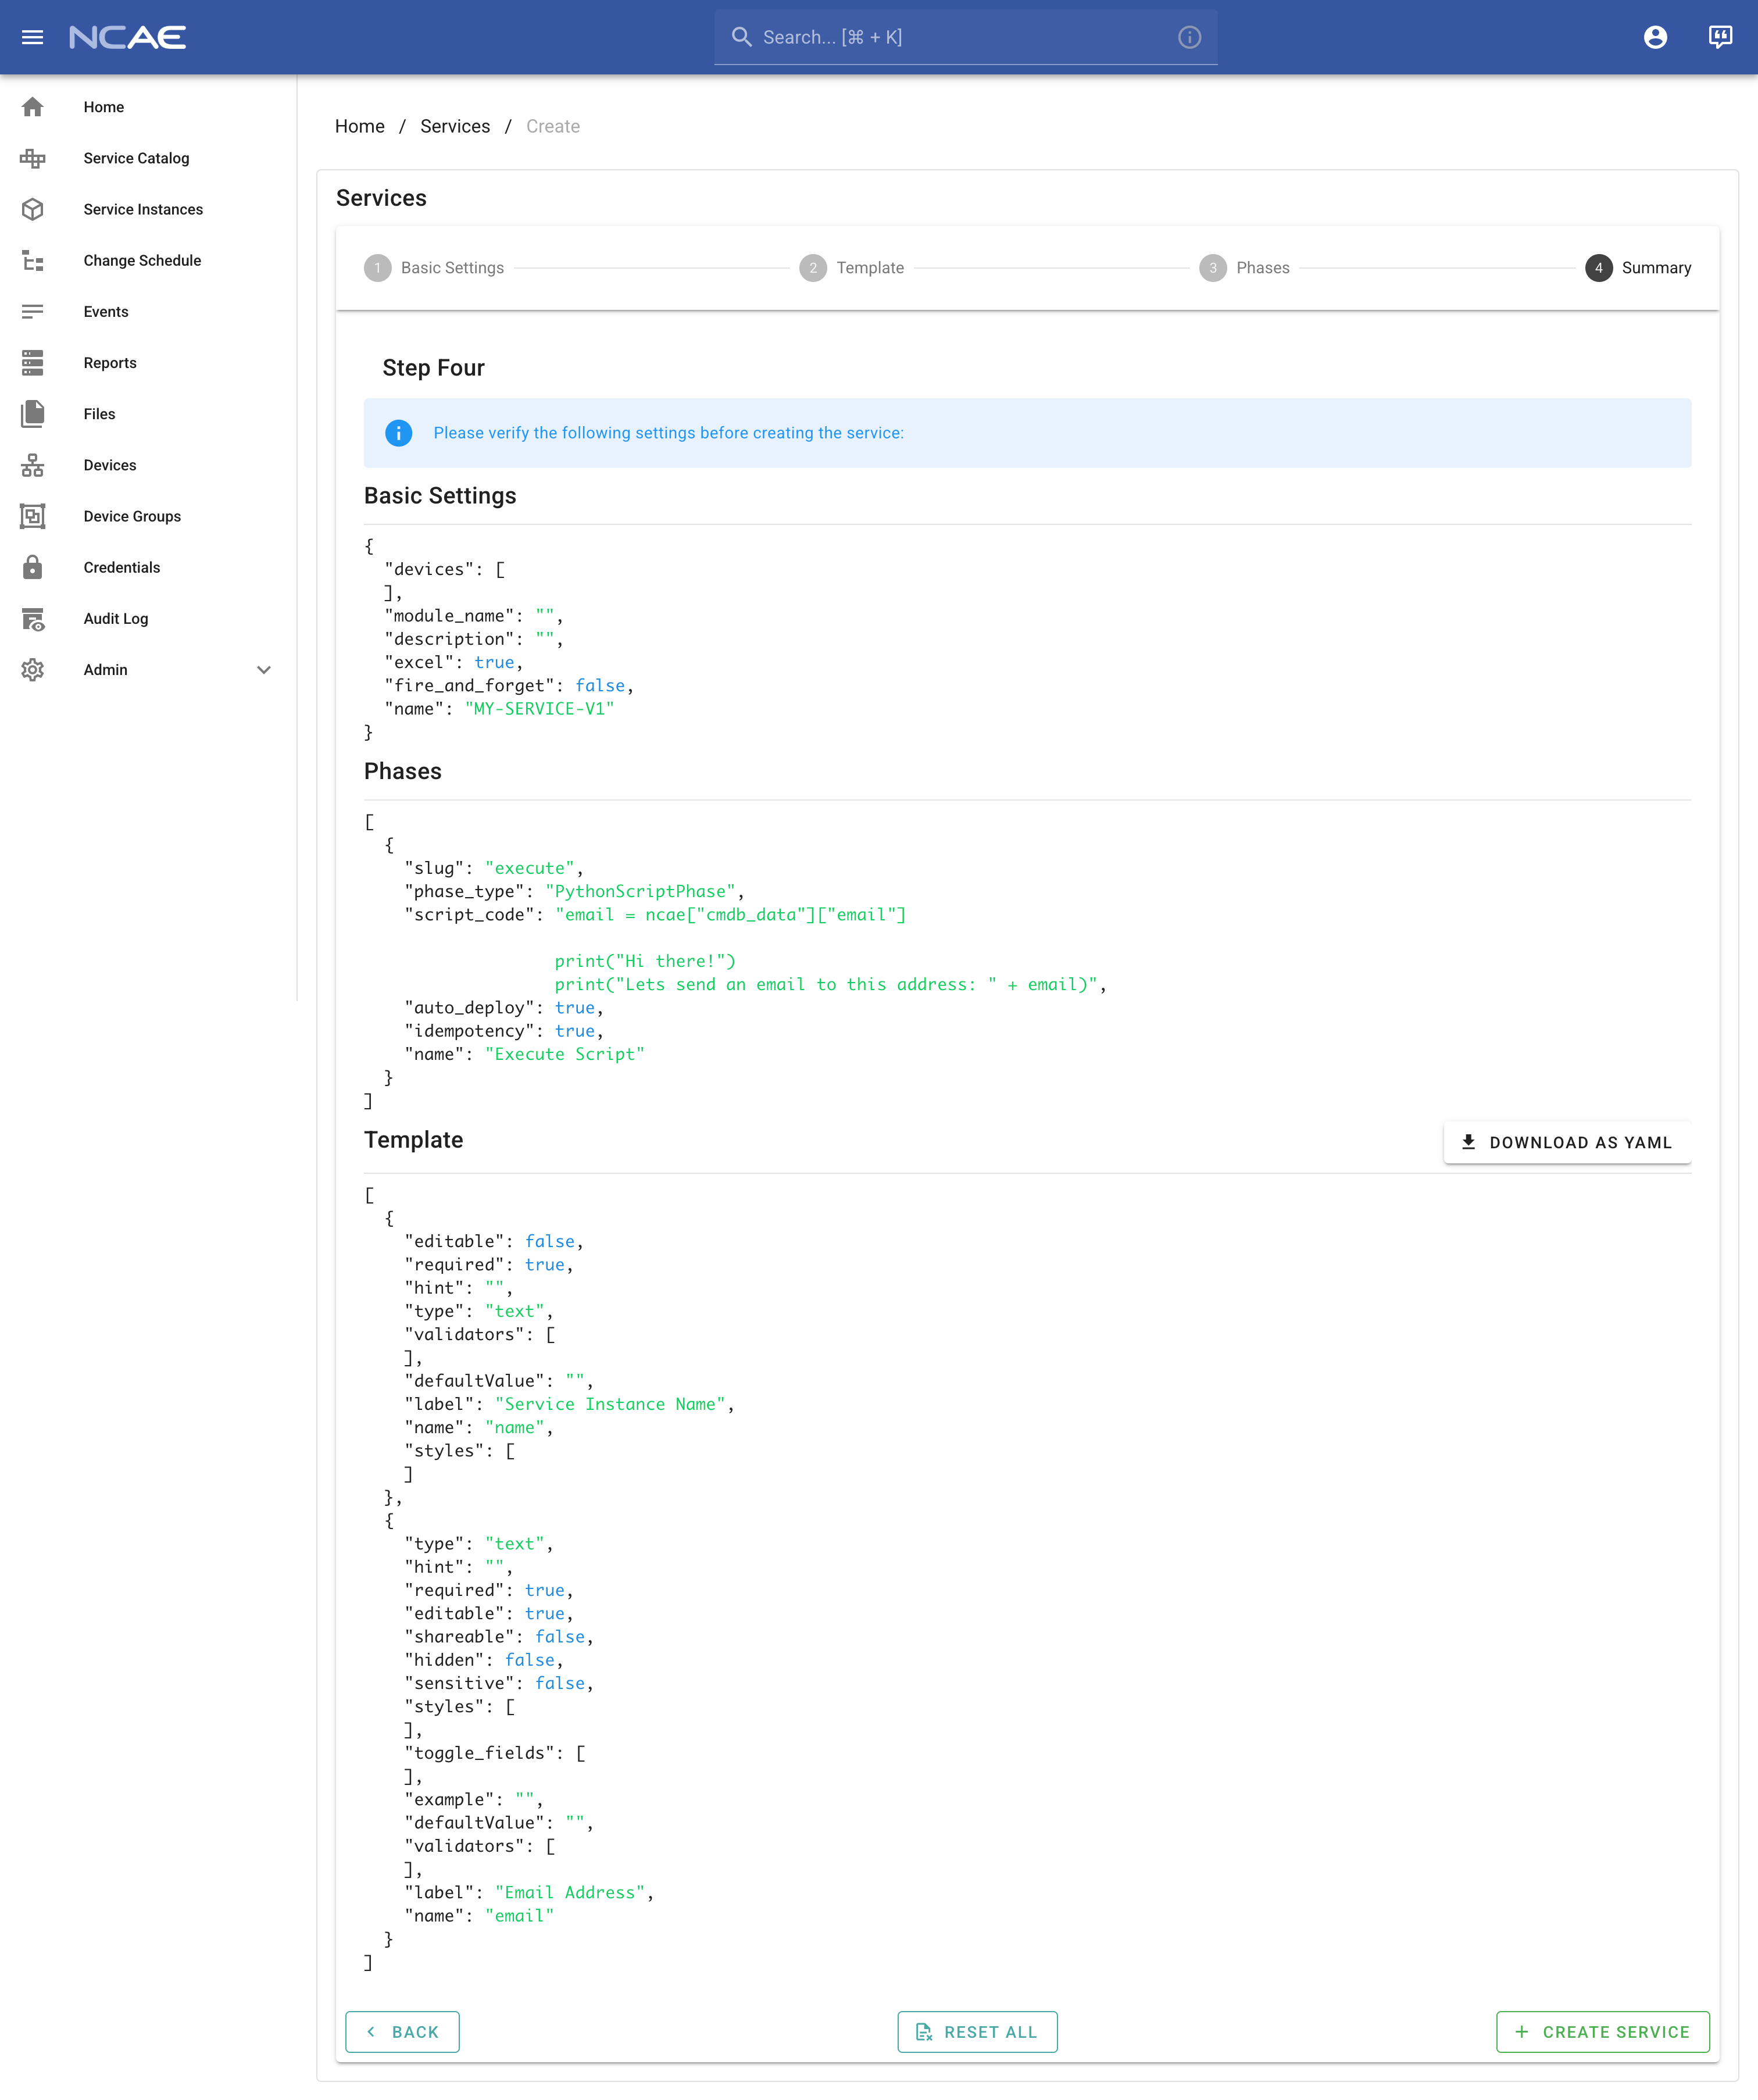
Service Creation - Review
The final step of the creation process is a review step, where you can see an overview of your service configuration and go back to previous steps if you want to change something. If you are happy with the configuration, click on “Create Service” to finish the service creation process.
After clicking create, NCAE will automatically redirect you to your newly created service. After regrouping, we will discuss how to add some devices to your NCAE, so that you can start with actually running your service.