Task 2 - Service Instances, Devices, Credentials
Goals
In this task, you will learn how to:
- Understand the lab environment you’ll be working with
- Create a credential for your CML lab devices
- Create device groups to organize your devices
- Create devices for all routers and switches in your CML lab
- Use these devices to create service instances
- Update and retire service instances
Lab Environment
During this training course you have access to a virtual network environment hosted with Cisco Modeling Labs (CML),
which looks like this and gives you access to two routers (rtr-1 and rtr-2) and two switches (sw-1 and sw-2) for
your automation exercises:
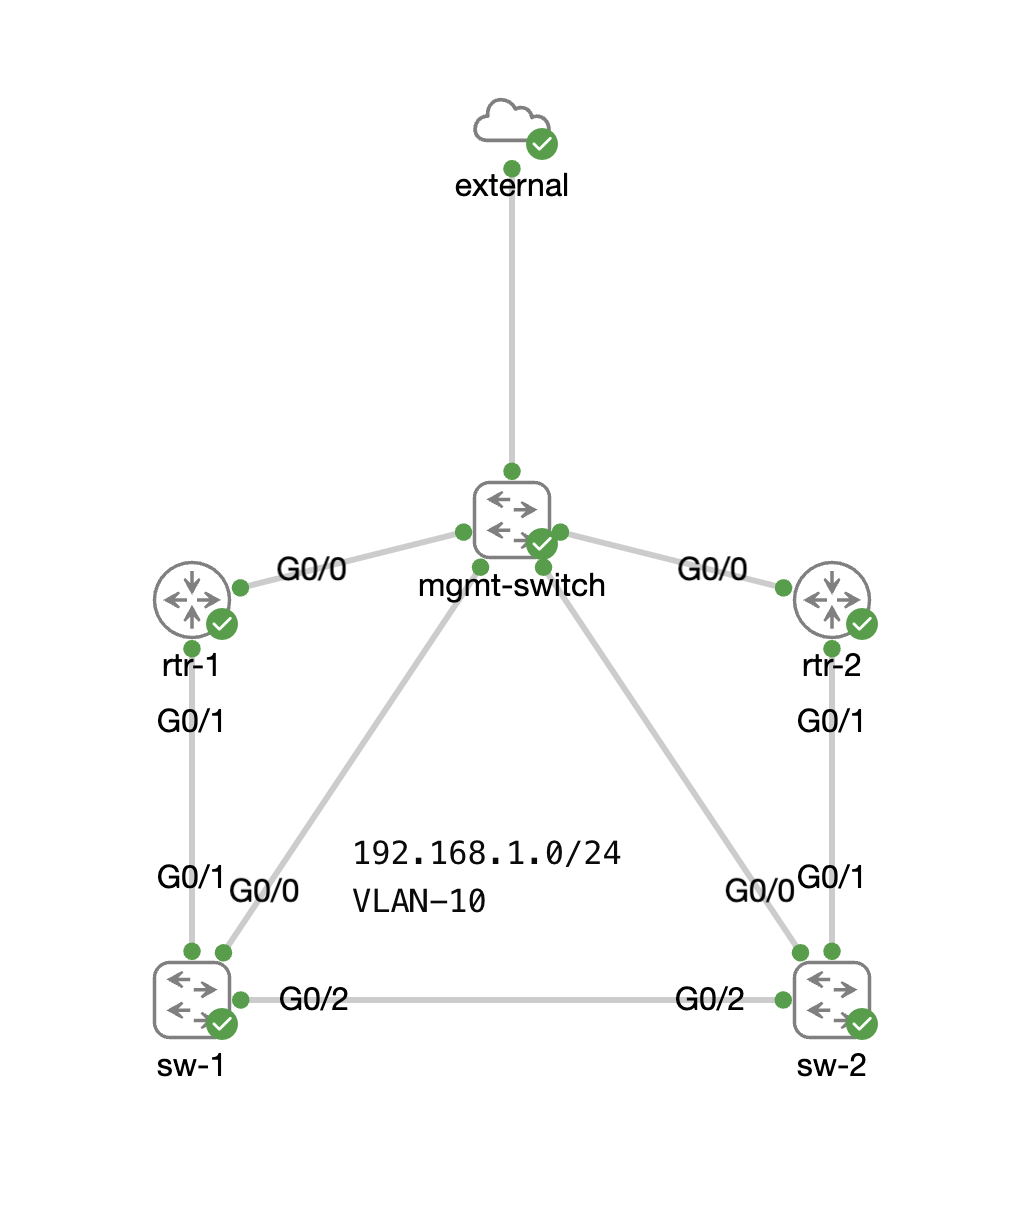
You can ignore the external and mgmt-switch nodes, as they are just here to provide connectivity to the outside
world. The devices all use the username admin and password Welcome2School., giving you full access (privilege 15) on
the devices. Simply enter the number of your lab in the input field below to see all your devices:
Create your first credential
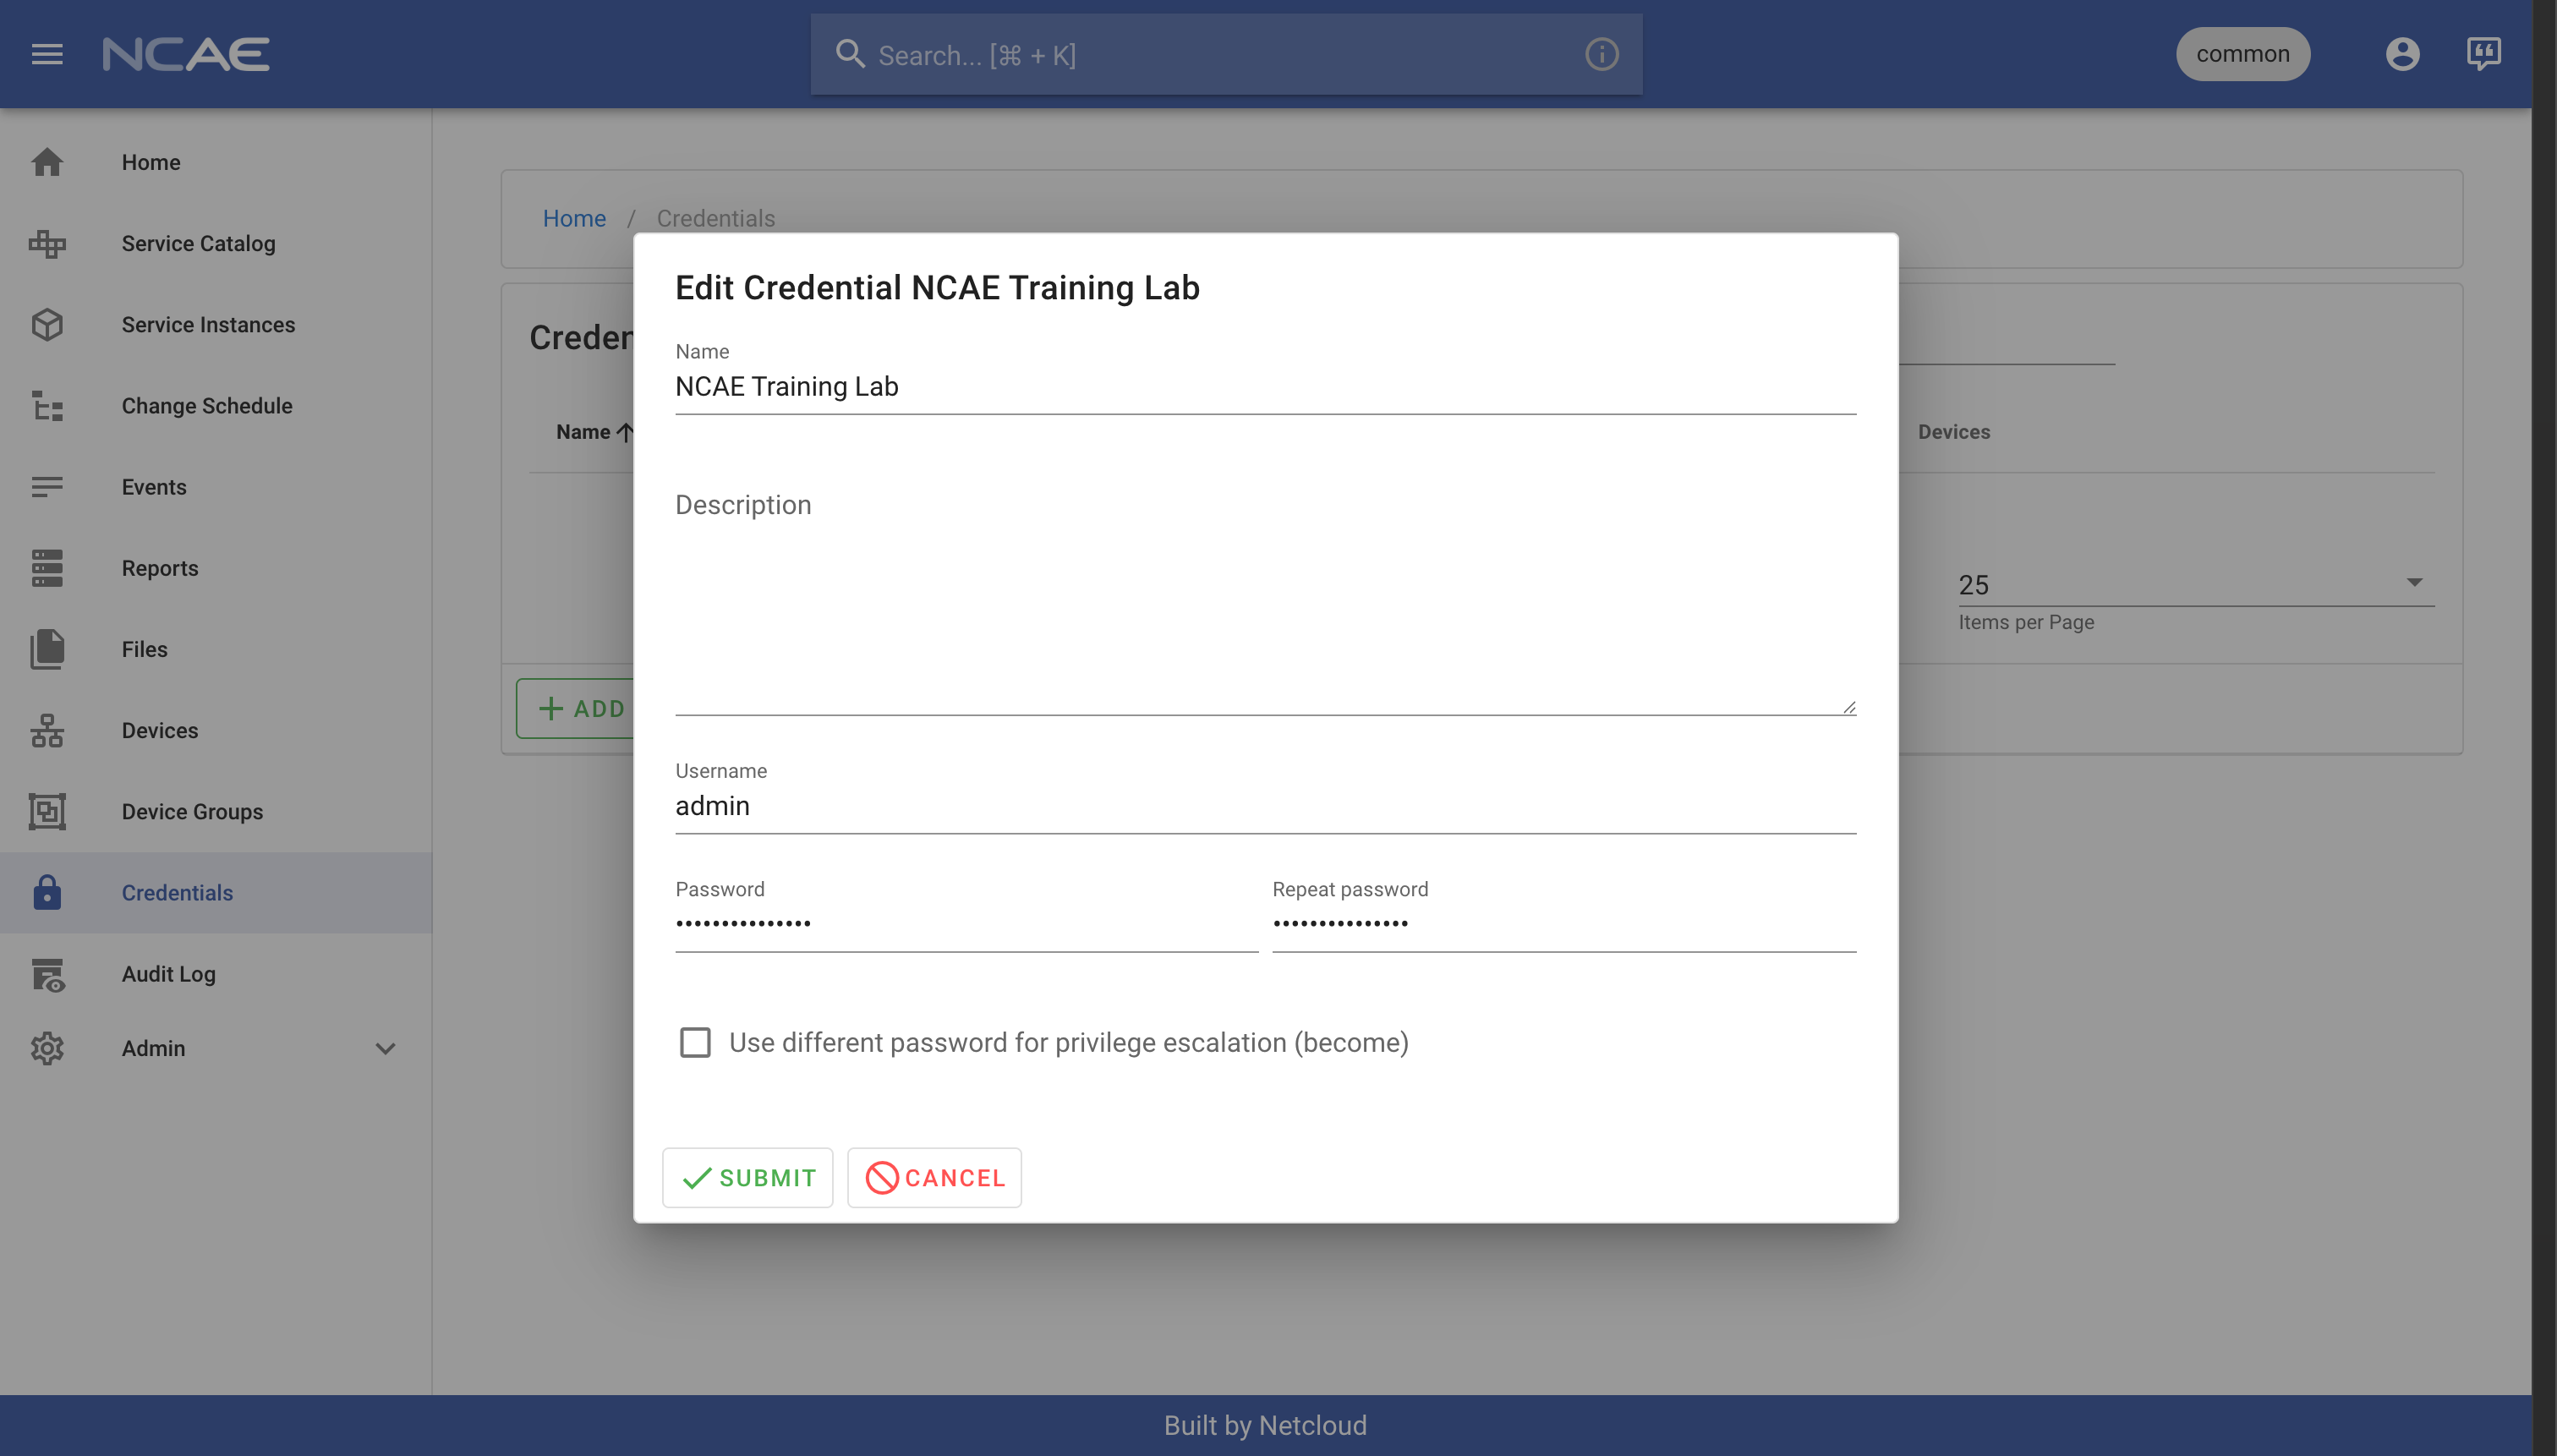
To ensure NCAE can manage these devices, the first step is to create a new credential. Each device needs a credential, but the same credential can be reused across many devices. Log in to your NCAE instance and navigate to the “Credentials” section. Click on “Add Credential” and fill in the following details:
- Name: should be
NCAE Training Lab- this is simply to help you identify the credential later on. - Description: can be left empty or you can add a short description if you like.
- Username: should be
admin- this is the configured local user on the lab devices. - Password: should be
Welcome2School.- this is the configured password for the local user on the lab devices. - Repeat password: should be
Welcome2School.- this is just to confirm the password you entered.
With all the details filled in, your form should look like this, which you can then confirm by clicking “Submit”.
Note that we did not use the option Use different password for privilege escalation (become). In this lab environment,
this is not needed, but if you have a different “enable” password configured on your devices, you could use this option
to specify that password as well.
Create device groups
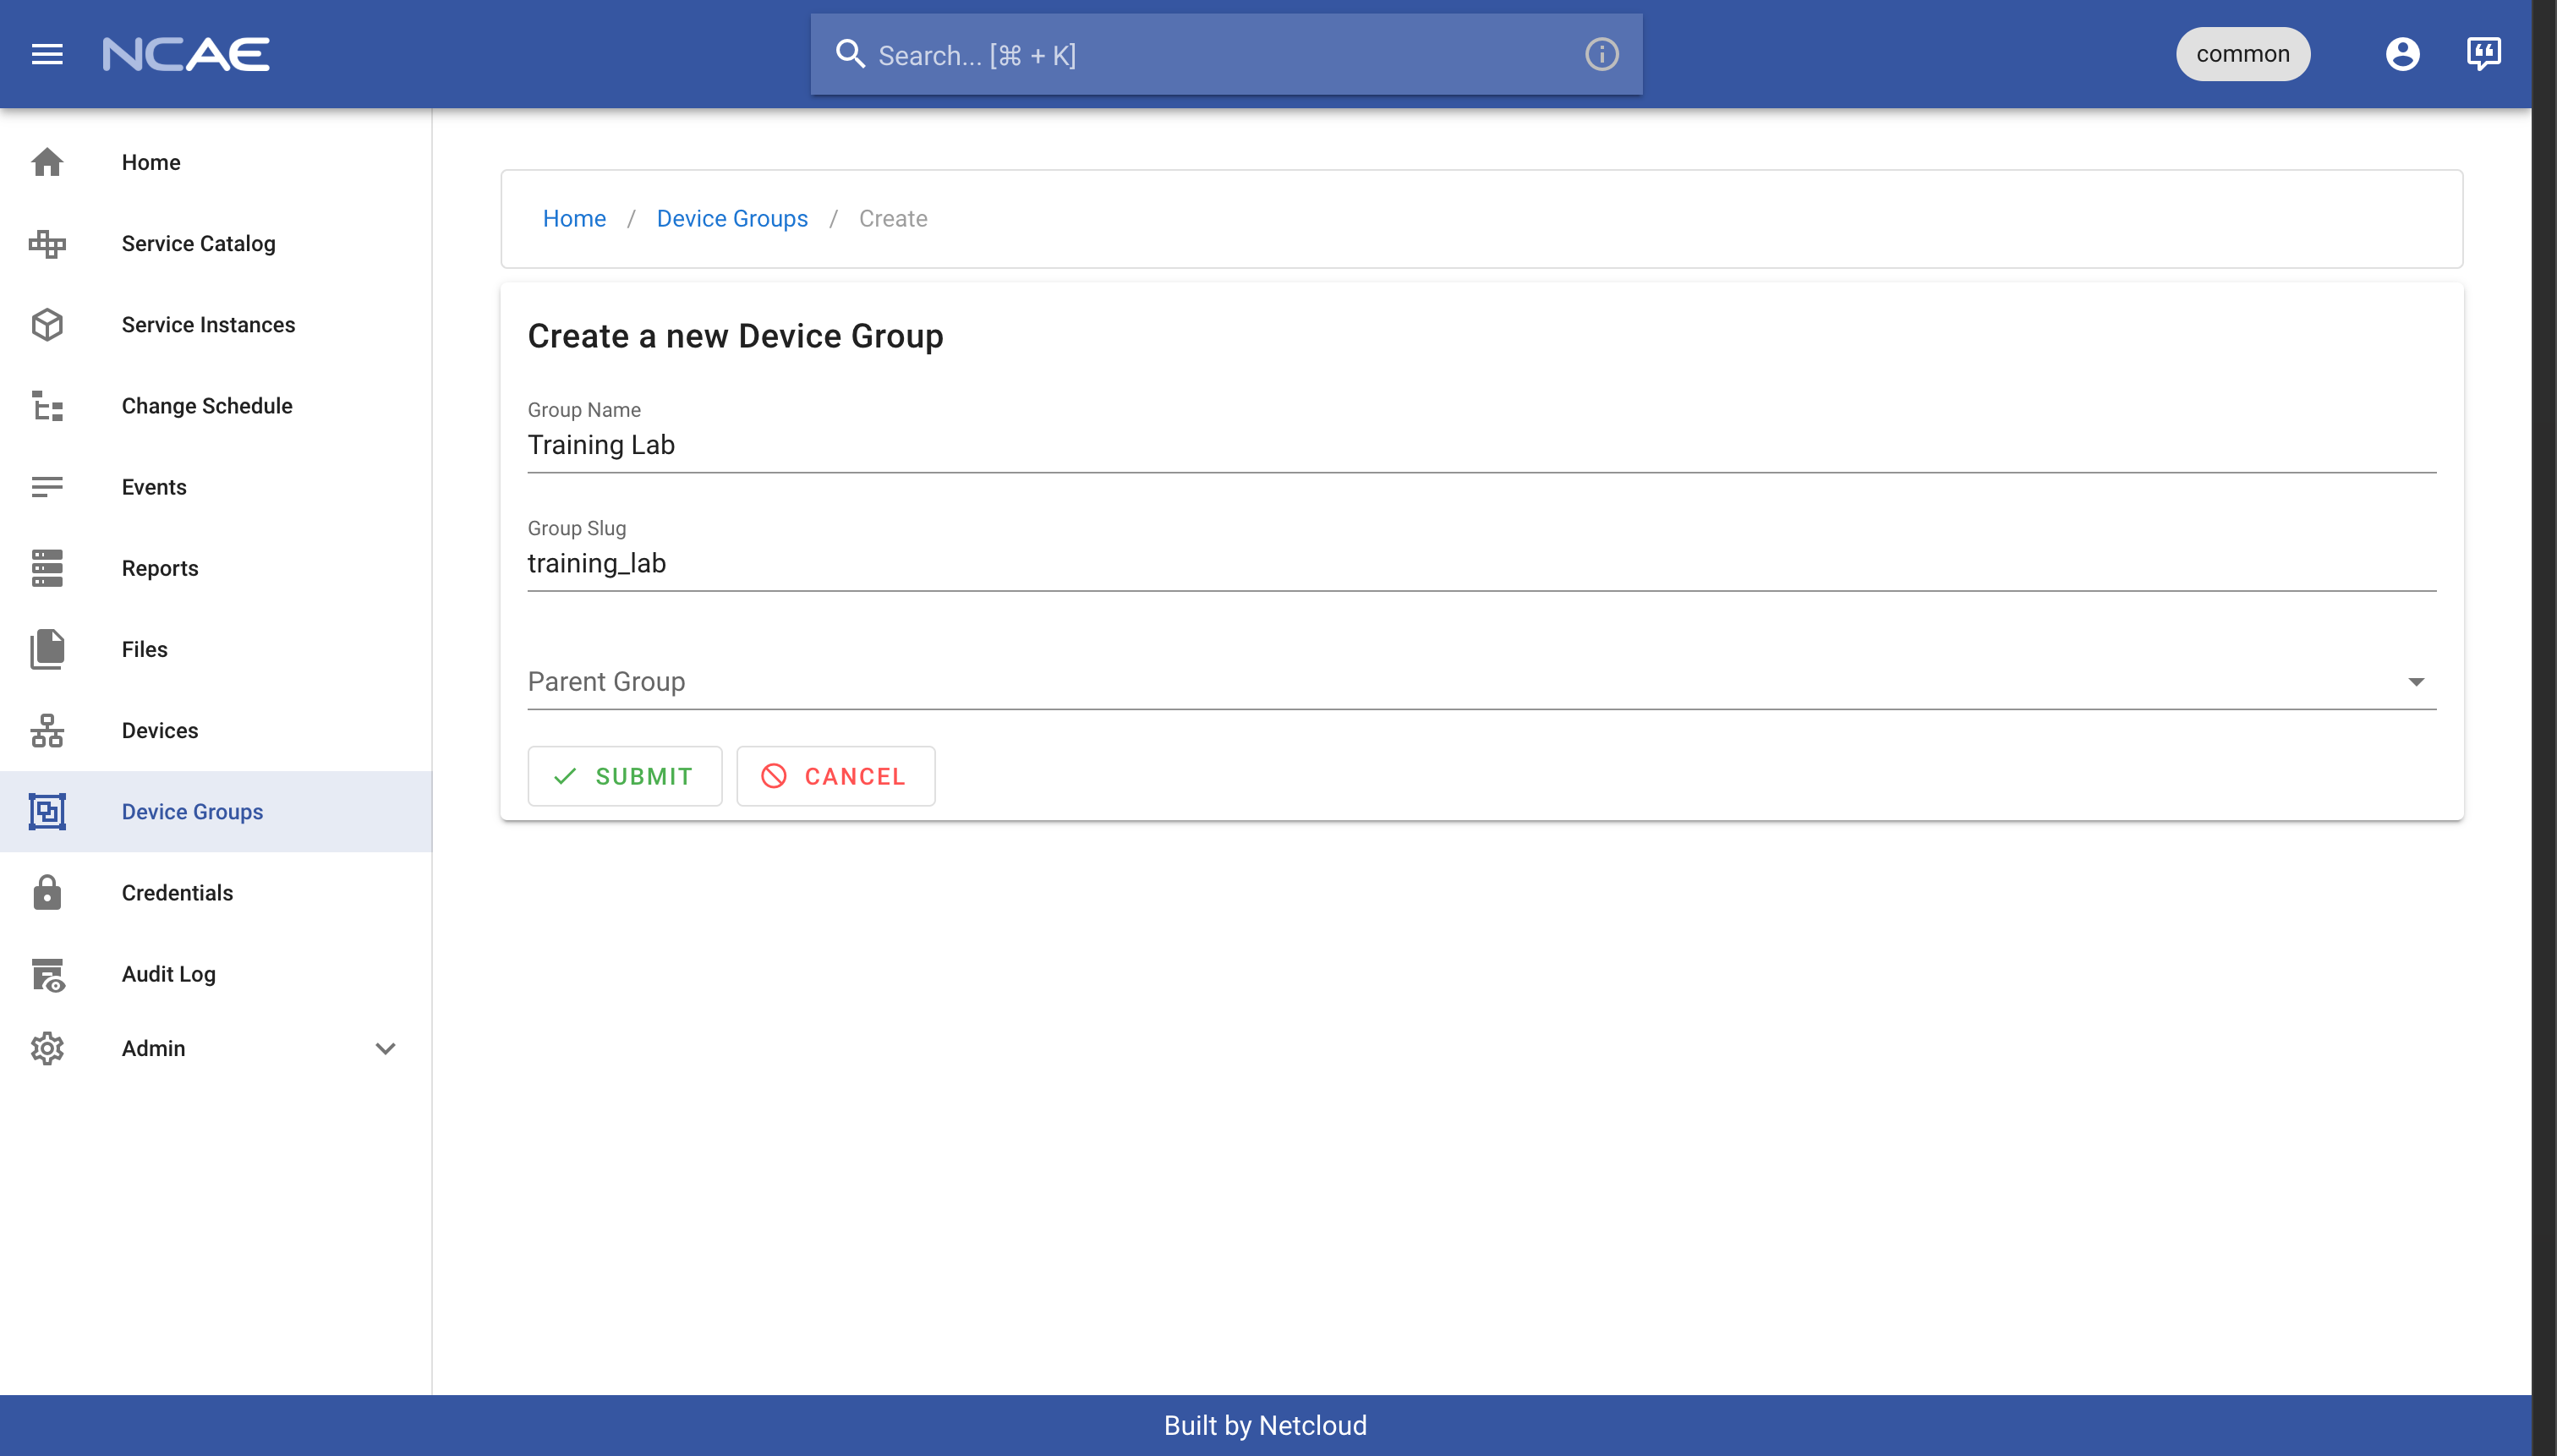
Now that you’ve created a credential, you could in theory already add your devices. However, to keep the environment more organized, lets create some device groups as well. Navigate to “Device Groups” in your NCAE, click the “Add Device Group” button and fill out these details:
- Group Name: should be
Training Lab - Group Slug: will be auto-generated, and should end up being
training_lab - Parent Group: should be left empty
Your resulting form will look like this, which you can simply confirm by pressing “Submit”:
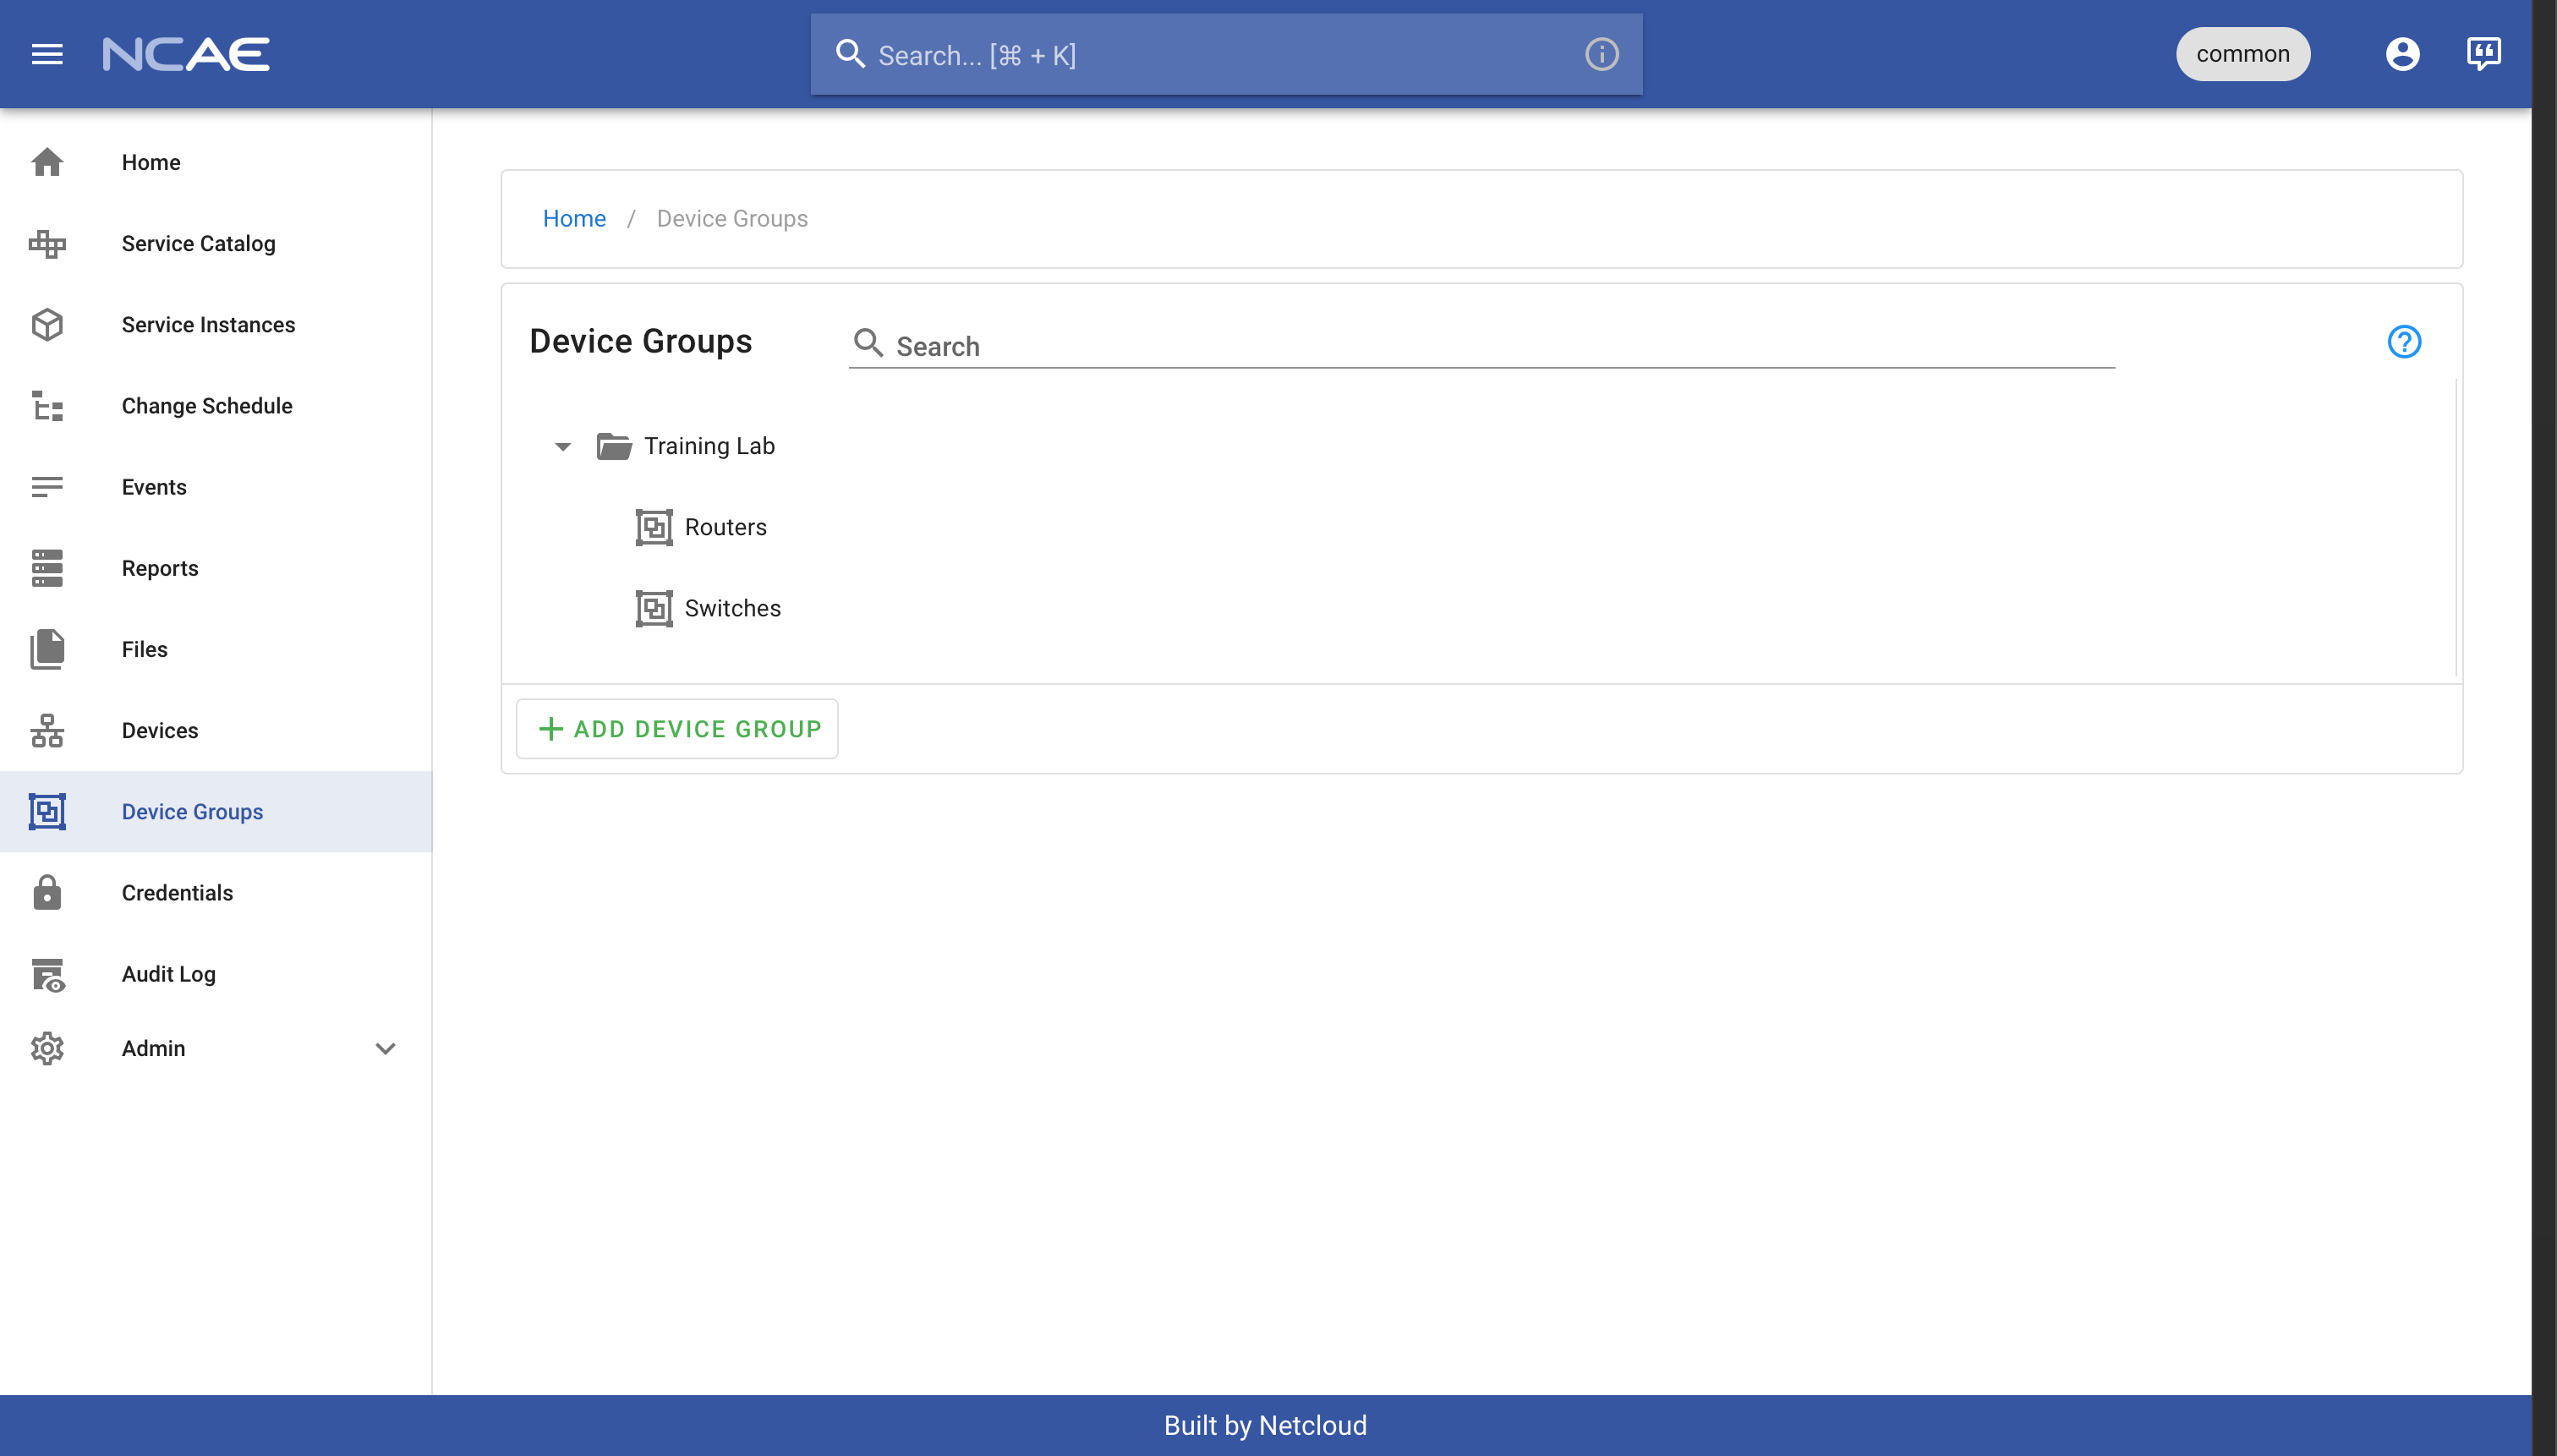
Now repeat this step two more times to create two child groups under Training Lab, one for the routers and one for the
switches. The details for the router group are as follows:
- Group Name: should be
Routers - Group Slug: will be auto-generated, and should end up being
routers - Parent Group: should be
Training Lab
And the details for the switch group are as follows:
- Group Name: should be
Switches - Group Slug: will be auto-generated, and should end up being
switches - Parent Group: should be
Training Lab
With all three groups created, your hierarchy on the “Device Groups” page should now look like this:
Create devices for your CML lab
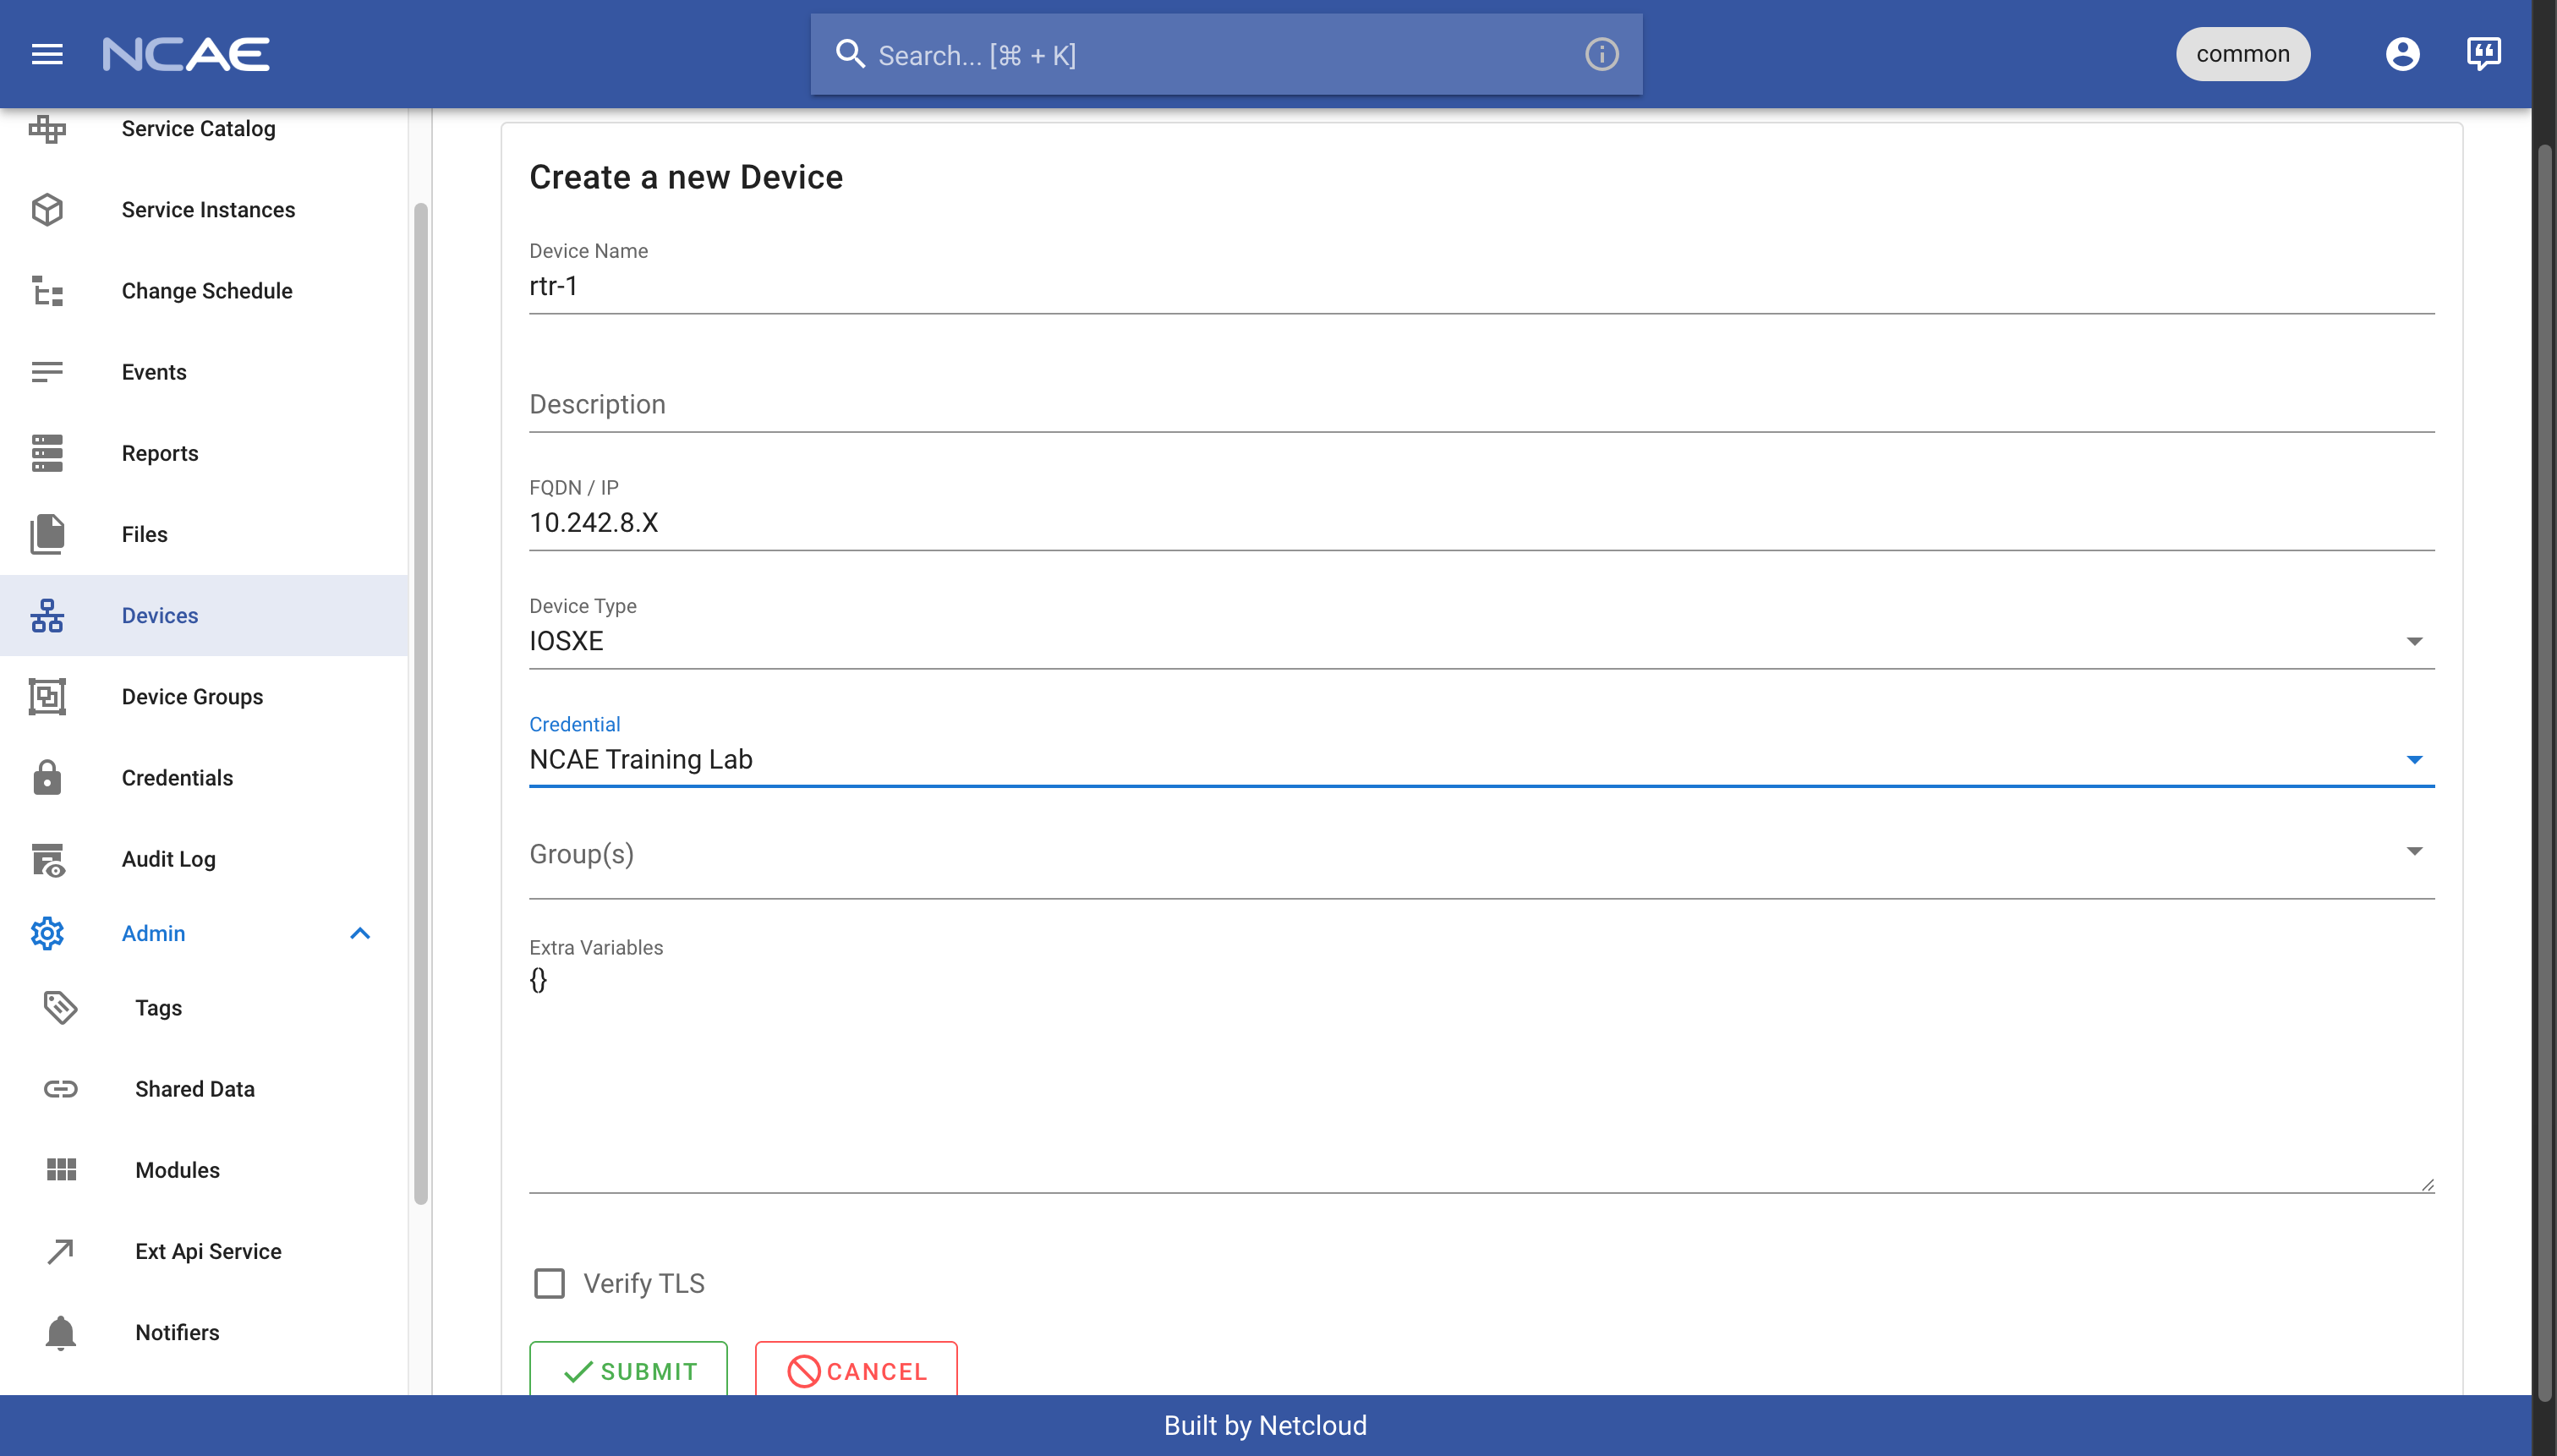
With both credentials and device groups in place, you can now add the devices for your CML lab. Navigate to “Devices” in your NCAE and click on the “Add Device” button. Here is an example on how to fill out the form for your first router:
- Device Name: should be
rtr-1 - Description: can be left empty
- FQDN / IP: should be set to the IP address in the further table below
- Device Type: should be set to
IOSXE - Credential: should be set to
NCAE Training Lab- this is the credential you created earlier - Group(s): should be set to
Training Lab \ Routers- this is the device group you created earlier
Leave all other fields at their default and click the “Submit” button. Overall, your form should look like this:
Below you can find the table with all your associated lab devices - simply enter your lab number and you will get the correct IP addresses for your devices:
Enter your lab number to show the device table.
| Device Name | Device Type | Management IP | Username | Password |
|---|
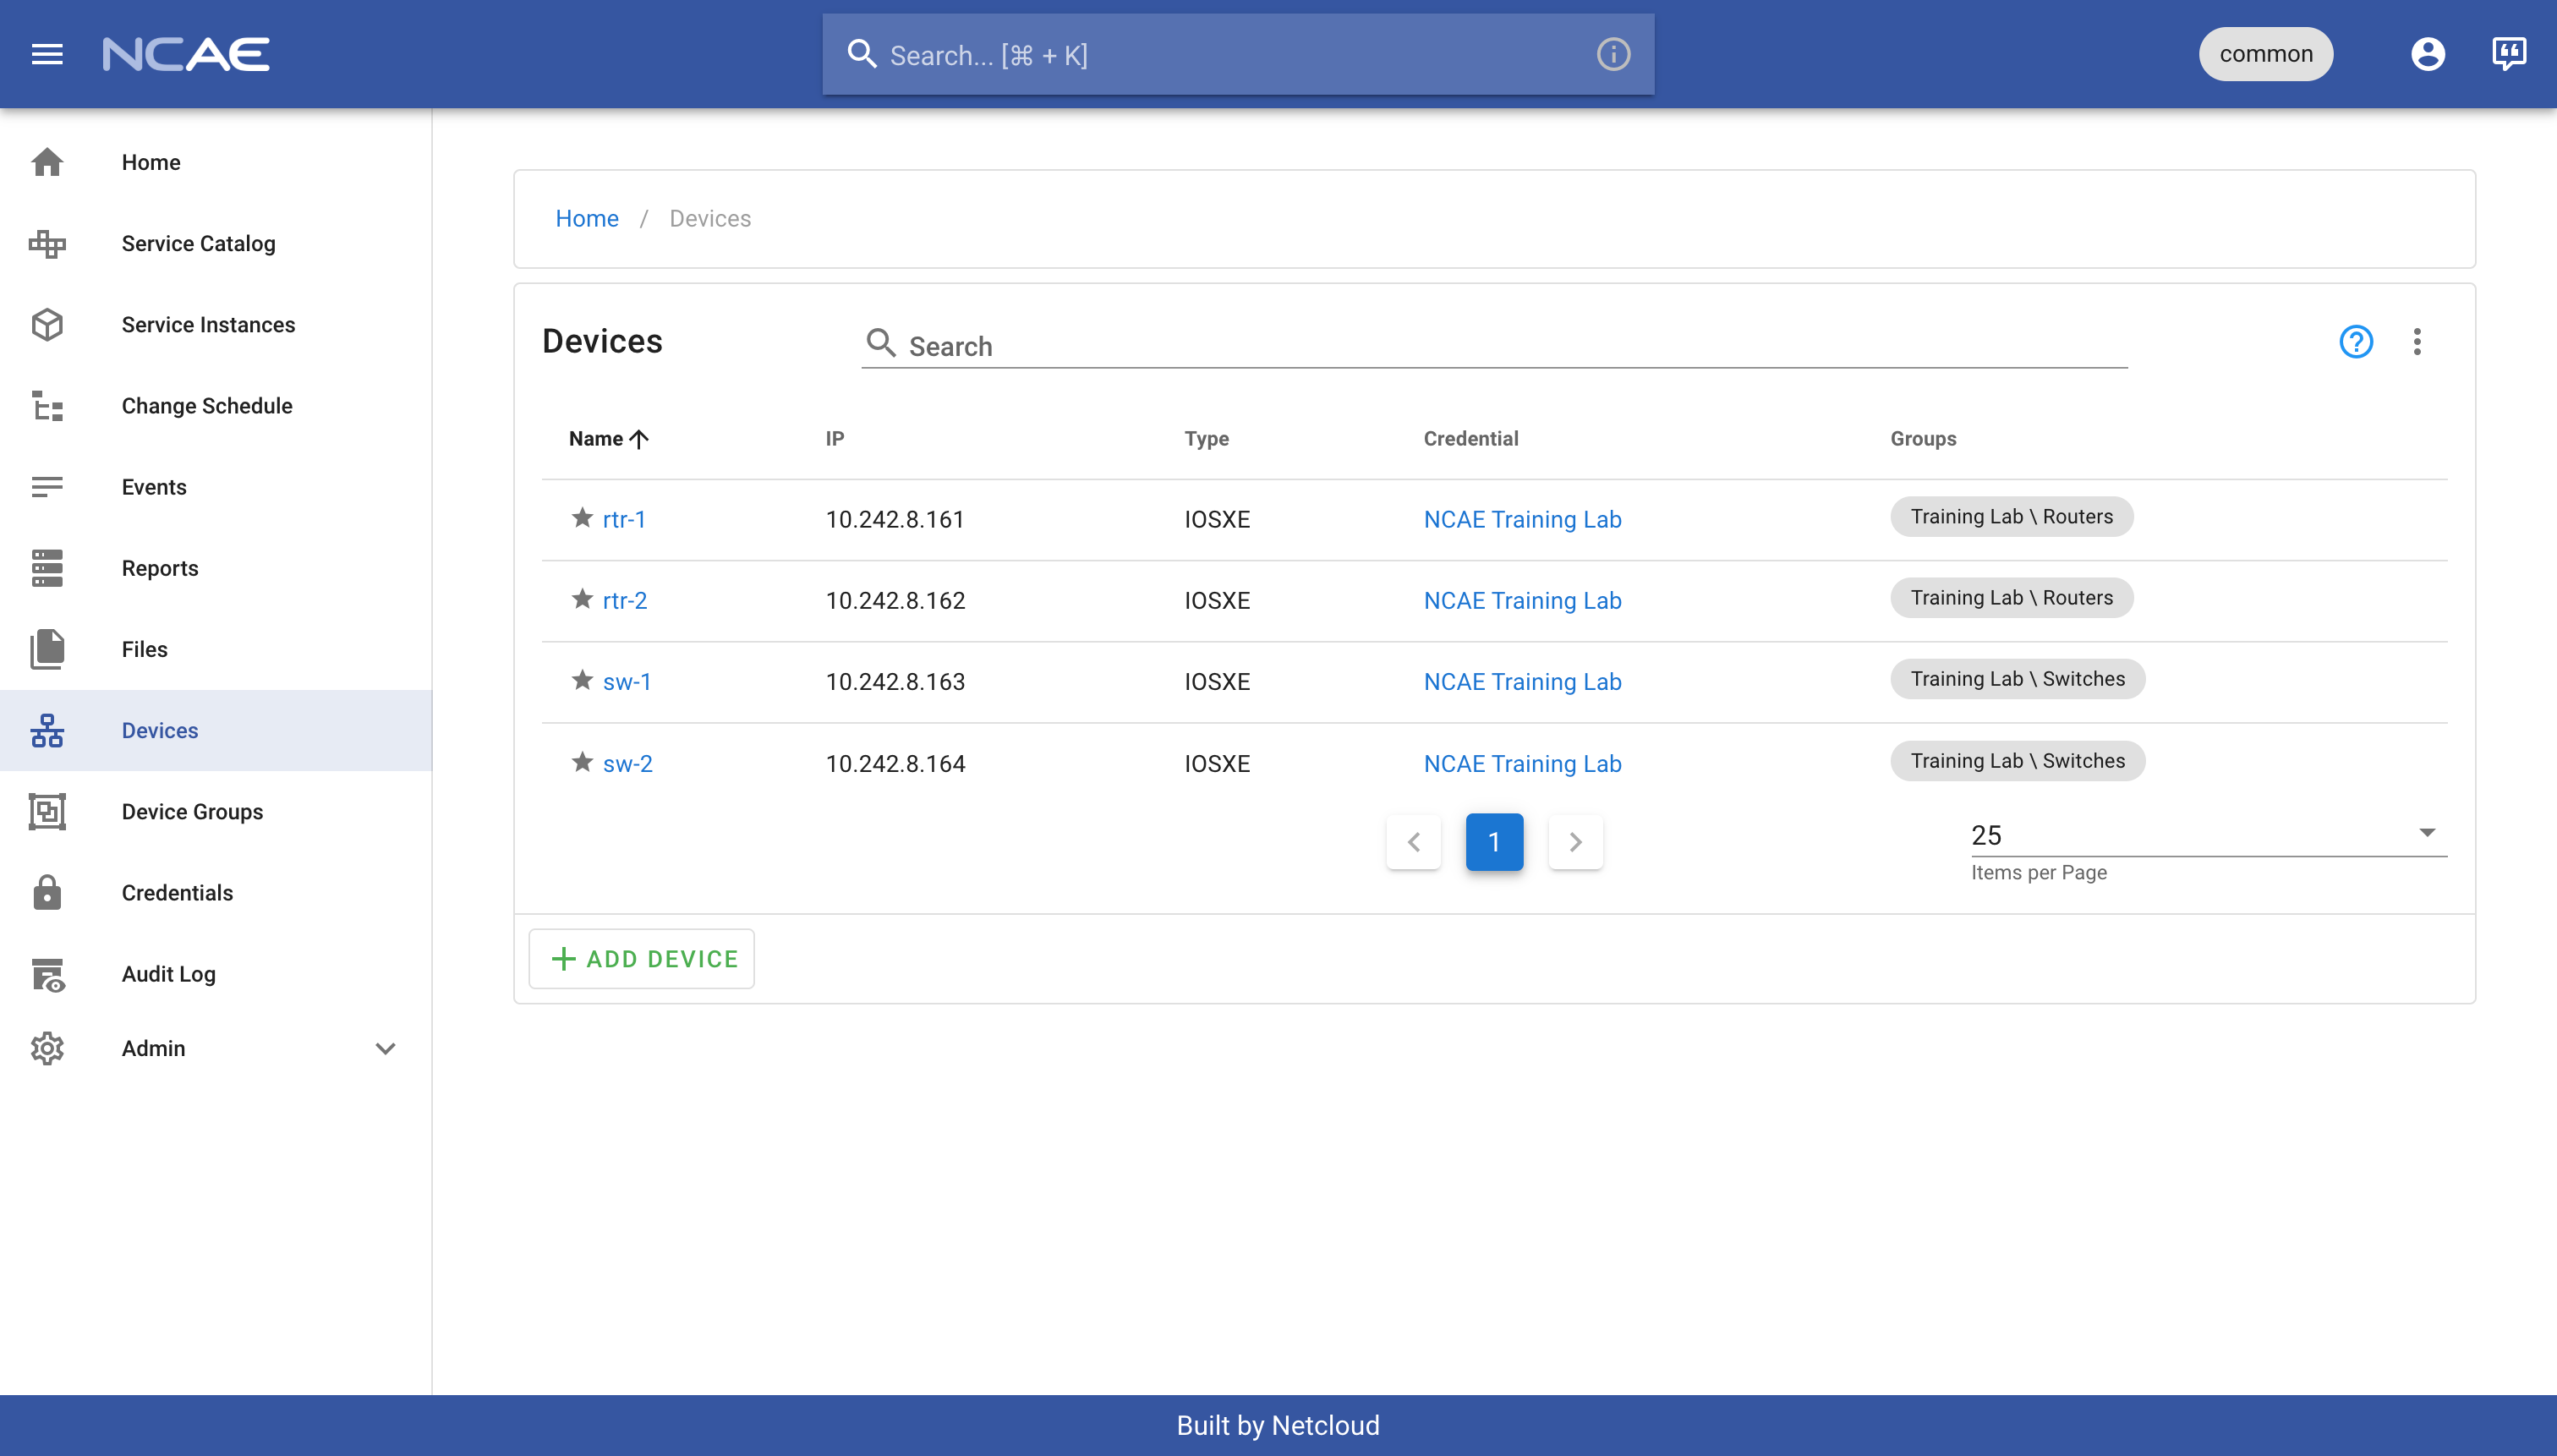
Based on this information, you should now repeat the above steps, until all four devices have been added to your NCAE instance. Once you have done that, you should see all your devices listed on the “Devices” page, and they should all be associated with the correct device groups as well:
Create service instances
Now that you have all devices in place, you can start creating service instances for the service you’ve created as part of Task 1. At this point, there is one important distinction to remember:
- If you want to create a new service instance, use the “Service Catalog”
- If you want to update or retire an existing service instance, use the “Service Instances” page
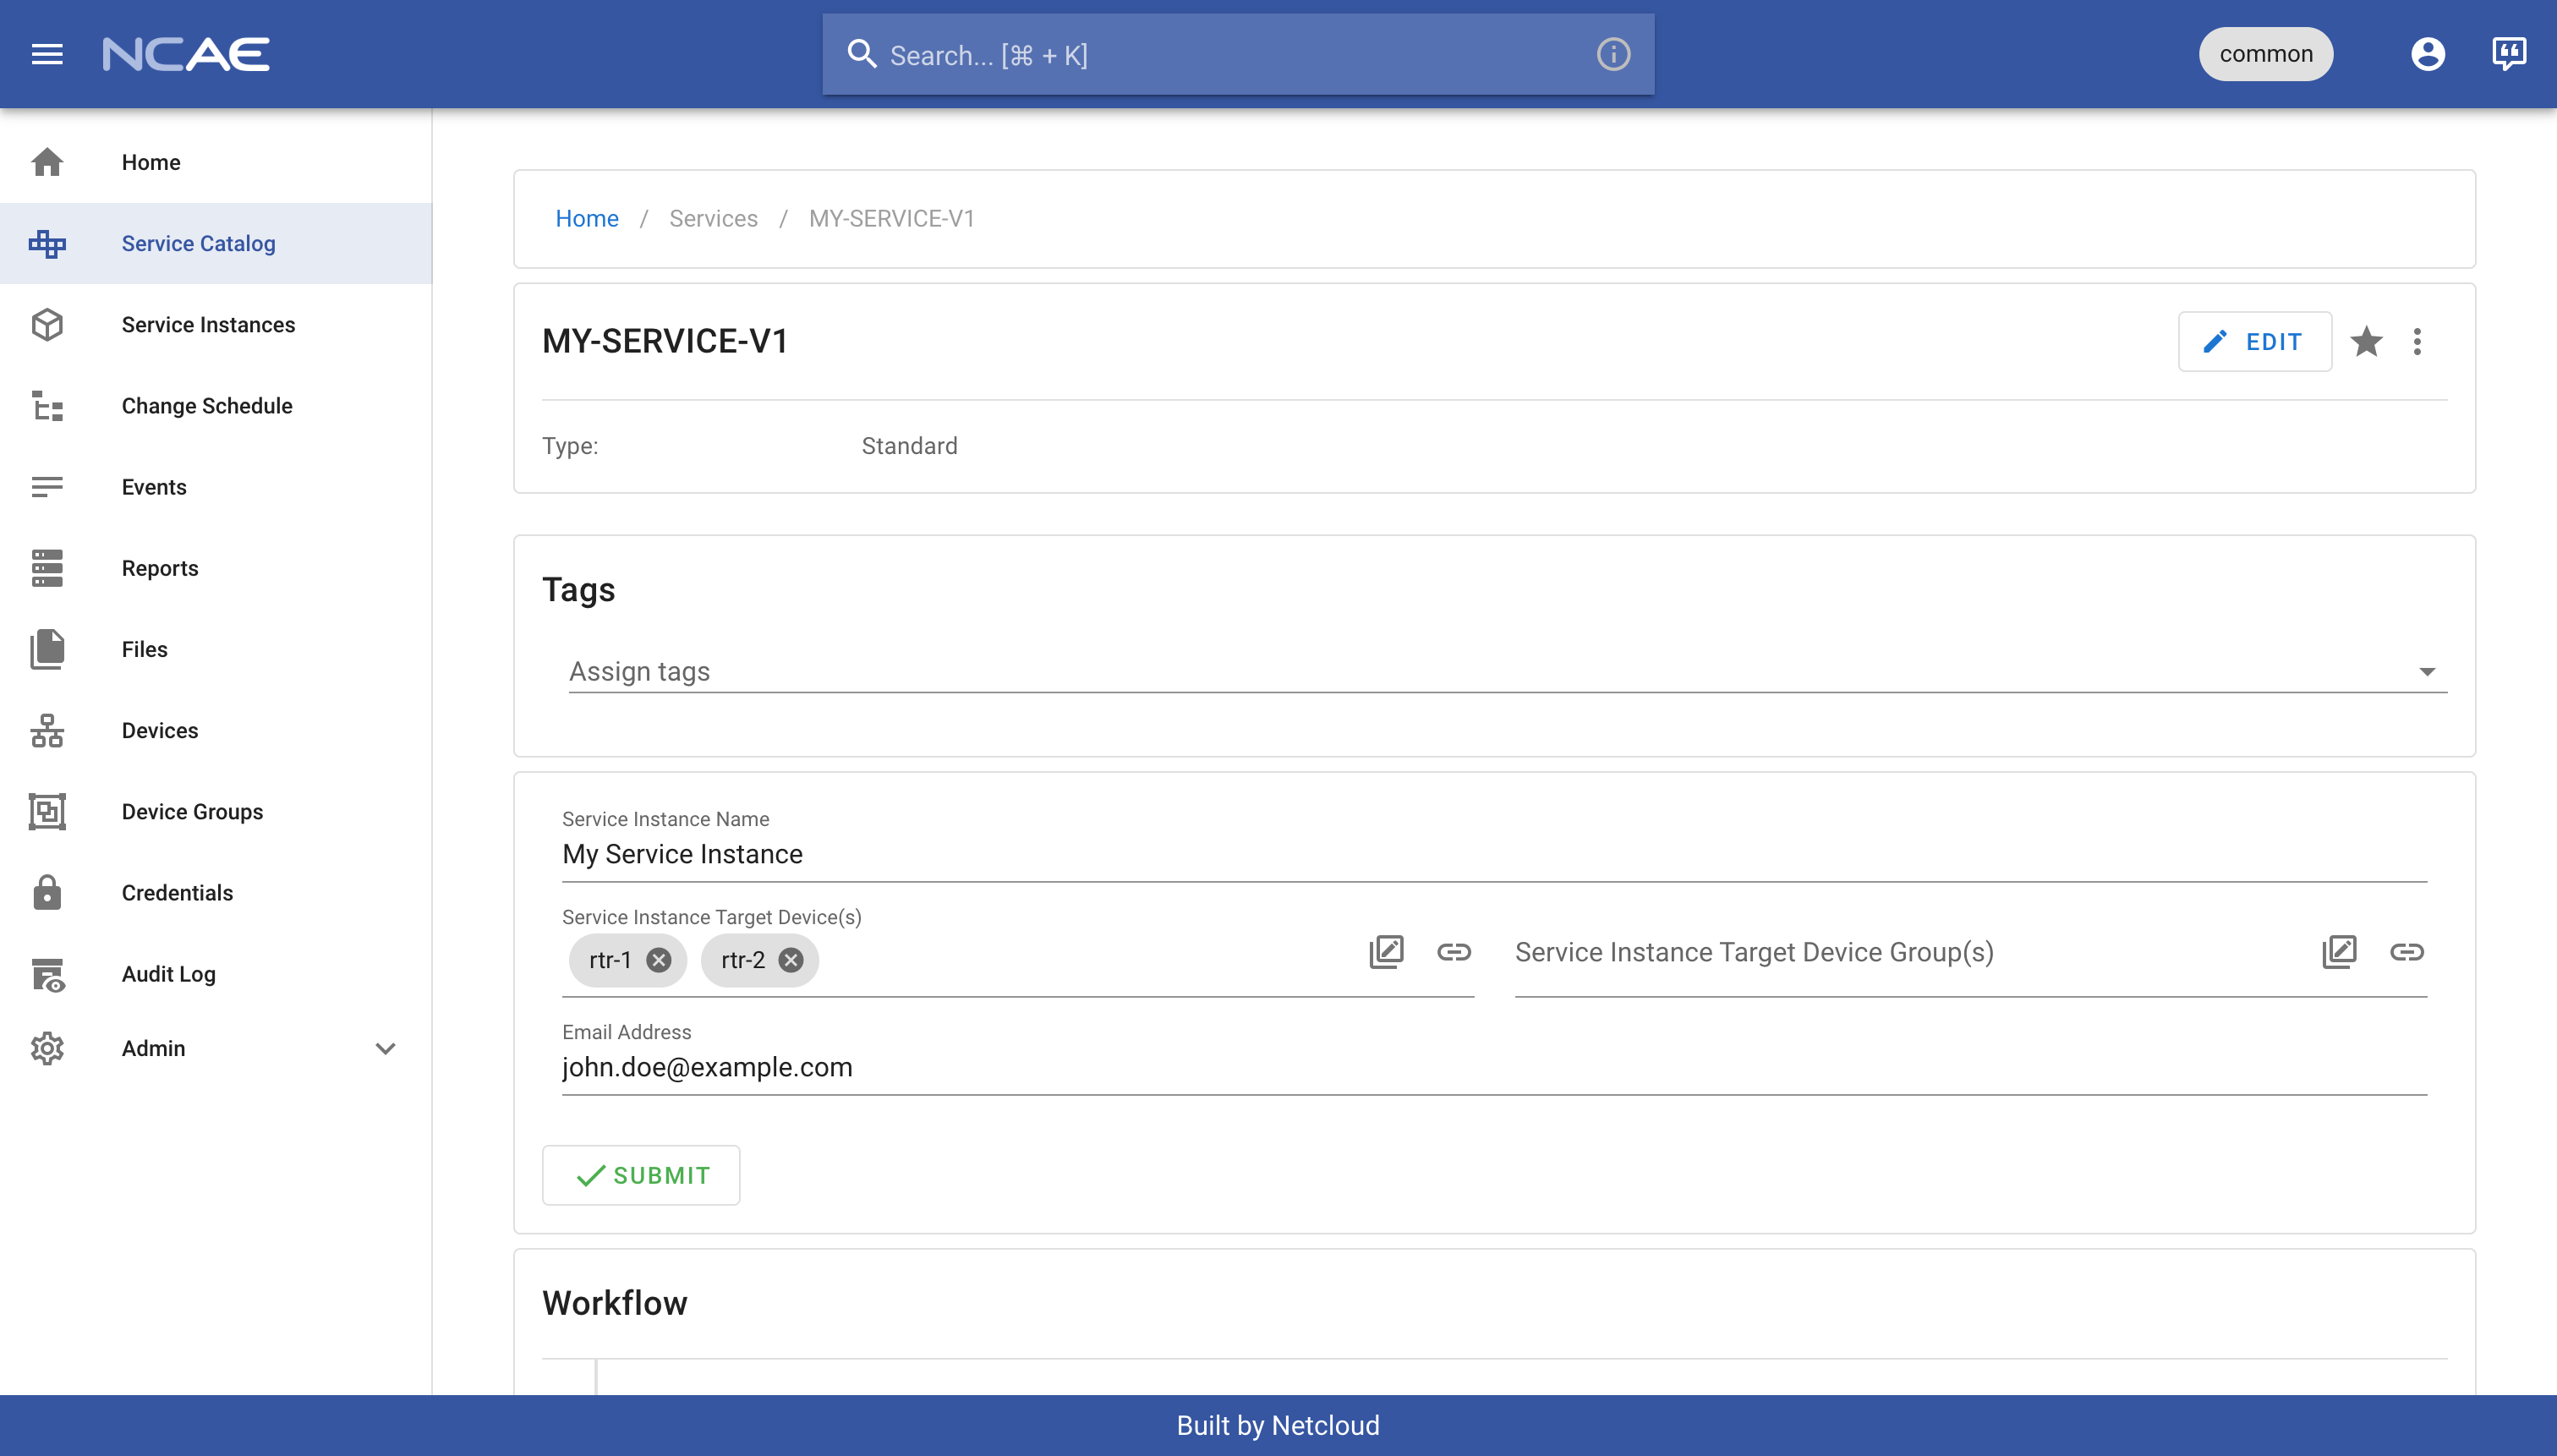
Given that you want to create a new service instance, navigate to the “Service Catalog” and select your previously created service “MY-SERVICE-V1”, then fill out the form as follows:
- Service Instance Name: can be any name of your choice, e.g.
My Service Instance - Service Instance Target Device(s) / Device Group(s): select any device or device group to run the service on
- Email: enter some email address (or whatever you wish, given it’s just an example)
Your form should look like this, which you can then confirm by clicking “Submit”, therefor creating a new service instance within your NCAE environment:
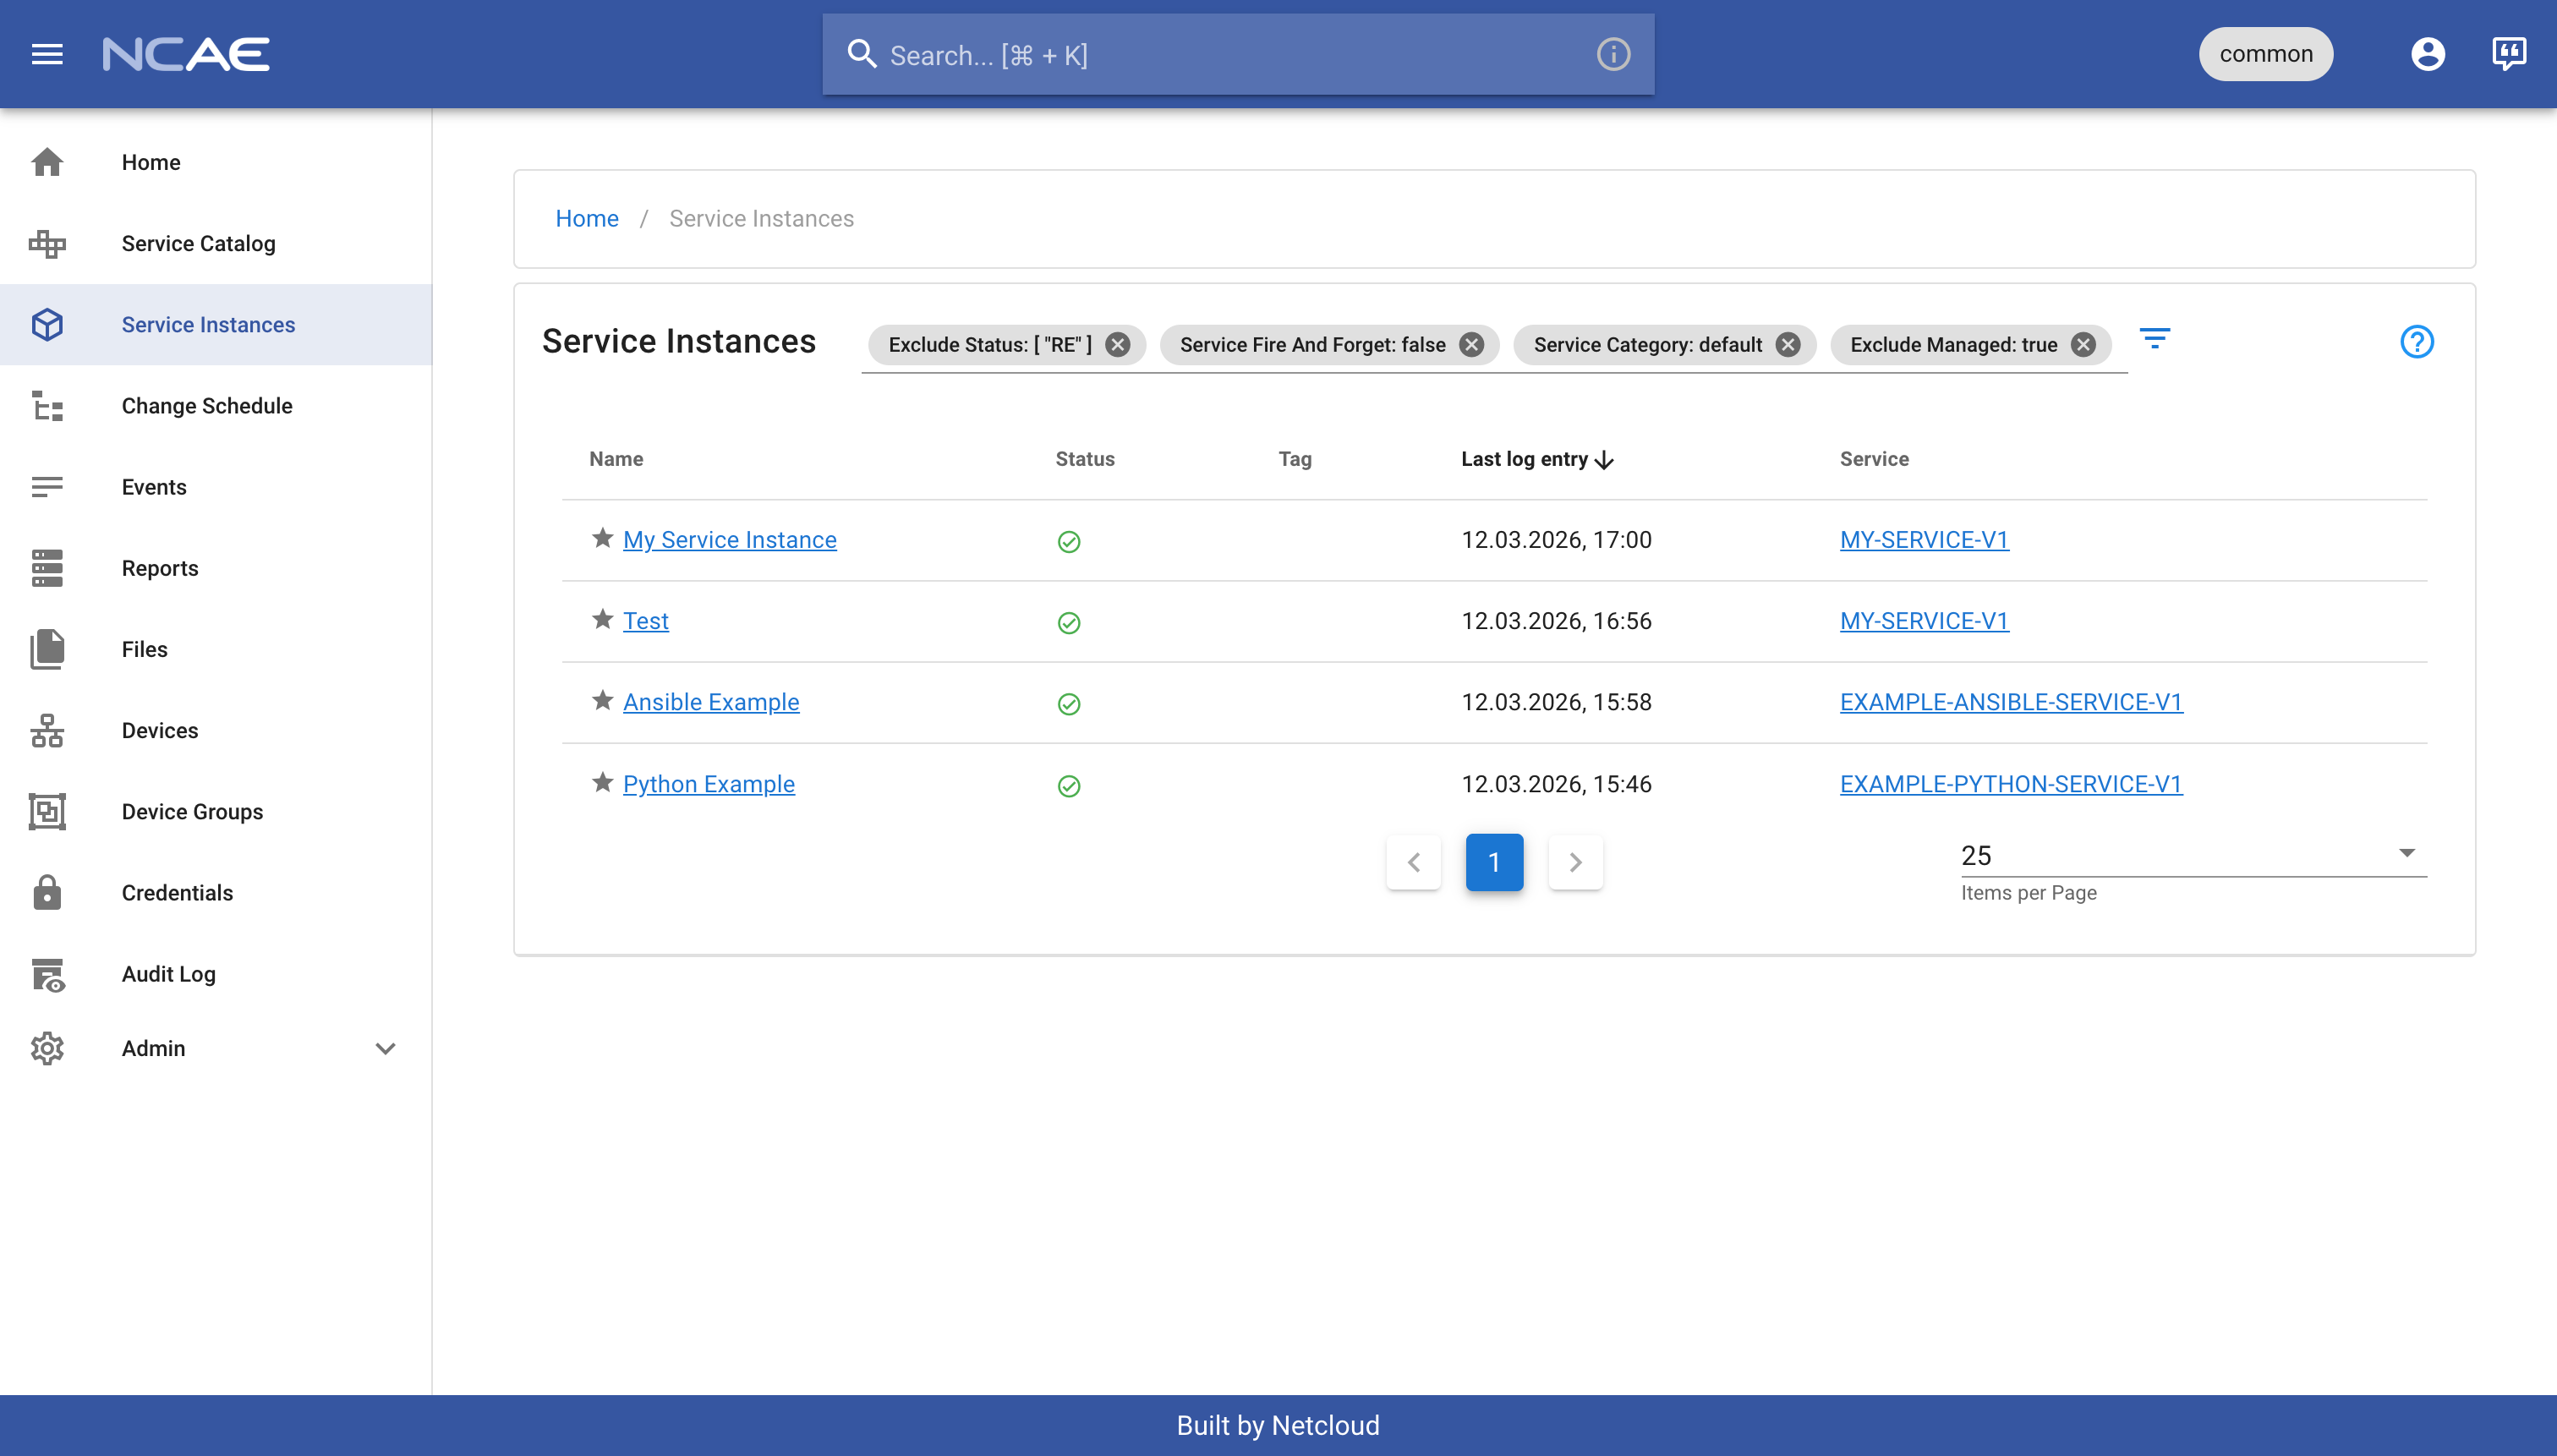
You will be redirected to the detail page of your newly created service instance, and you can now also find your service instance on the overview by clicking on “Service Instances” again:
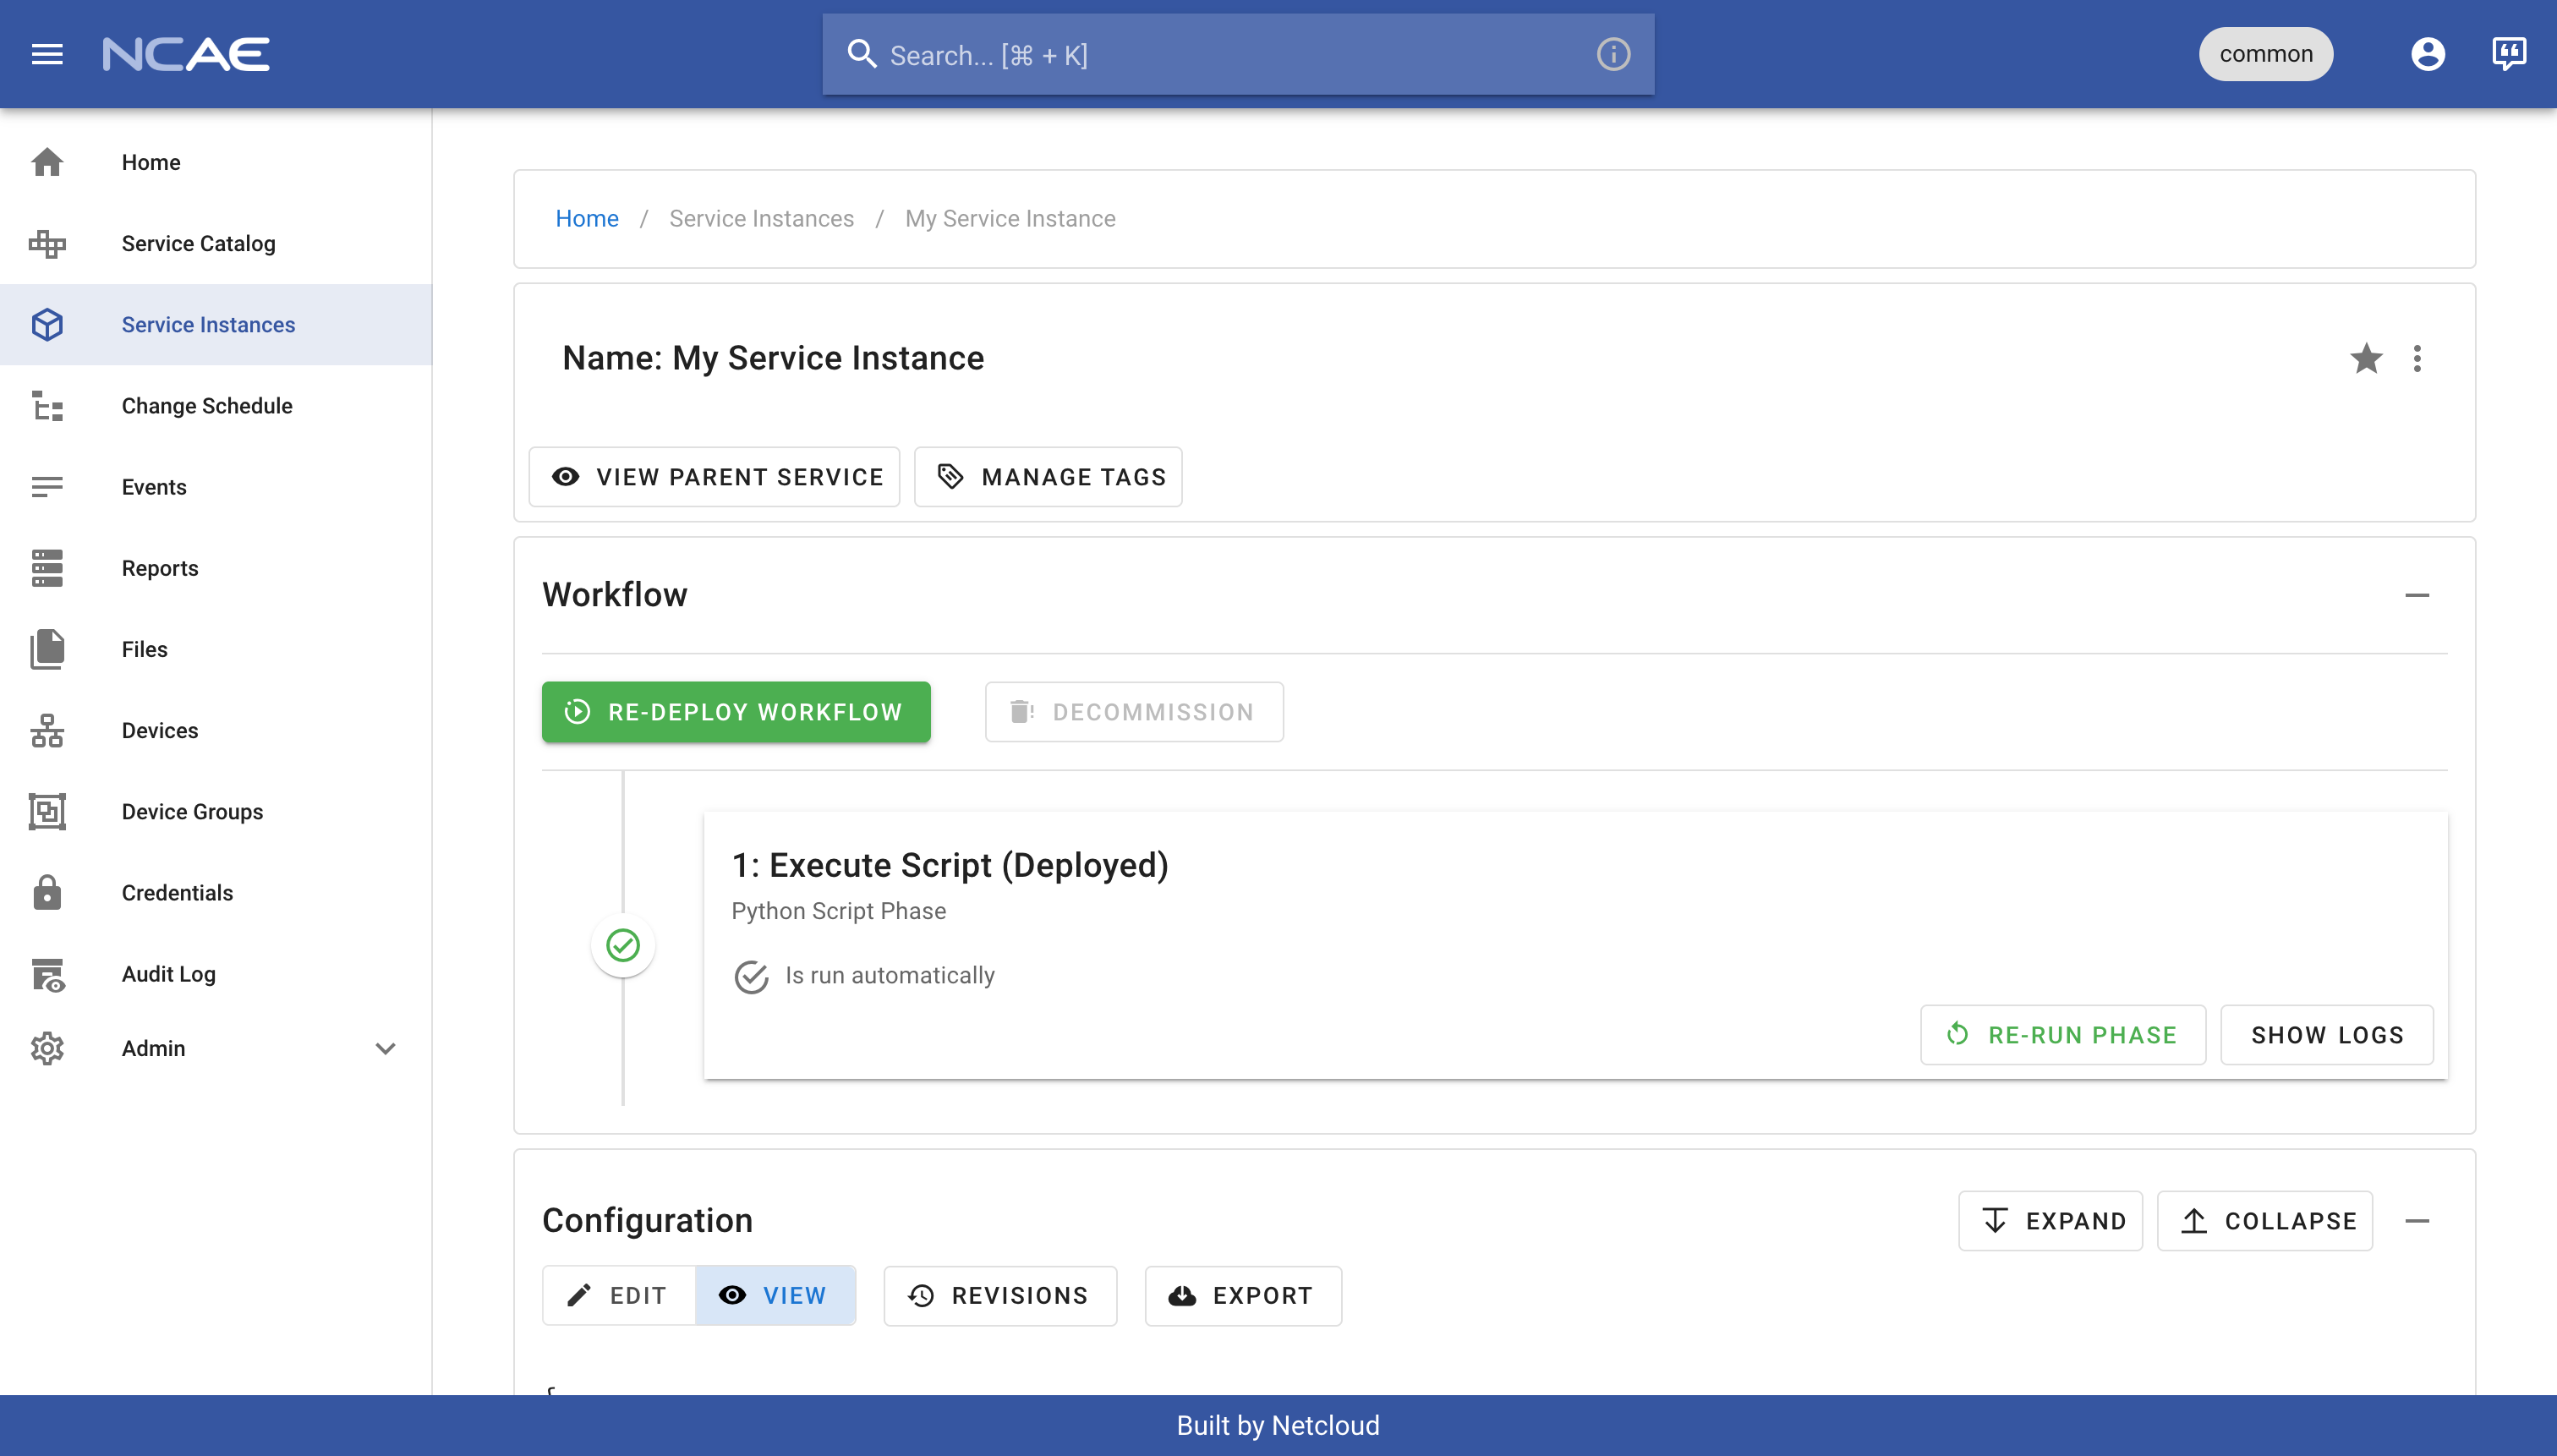
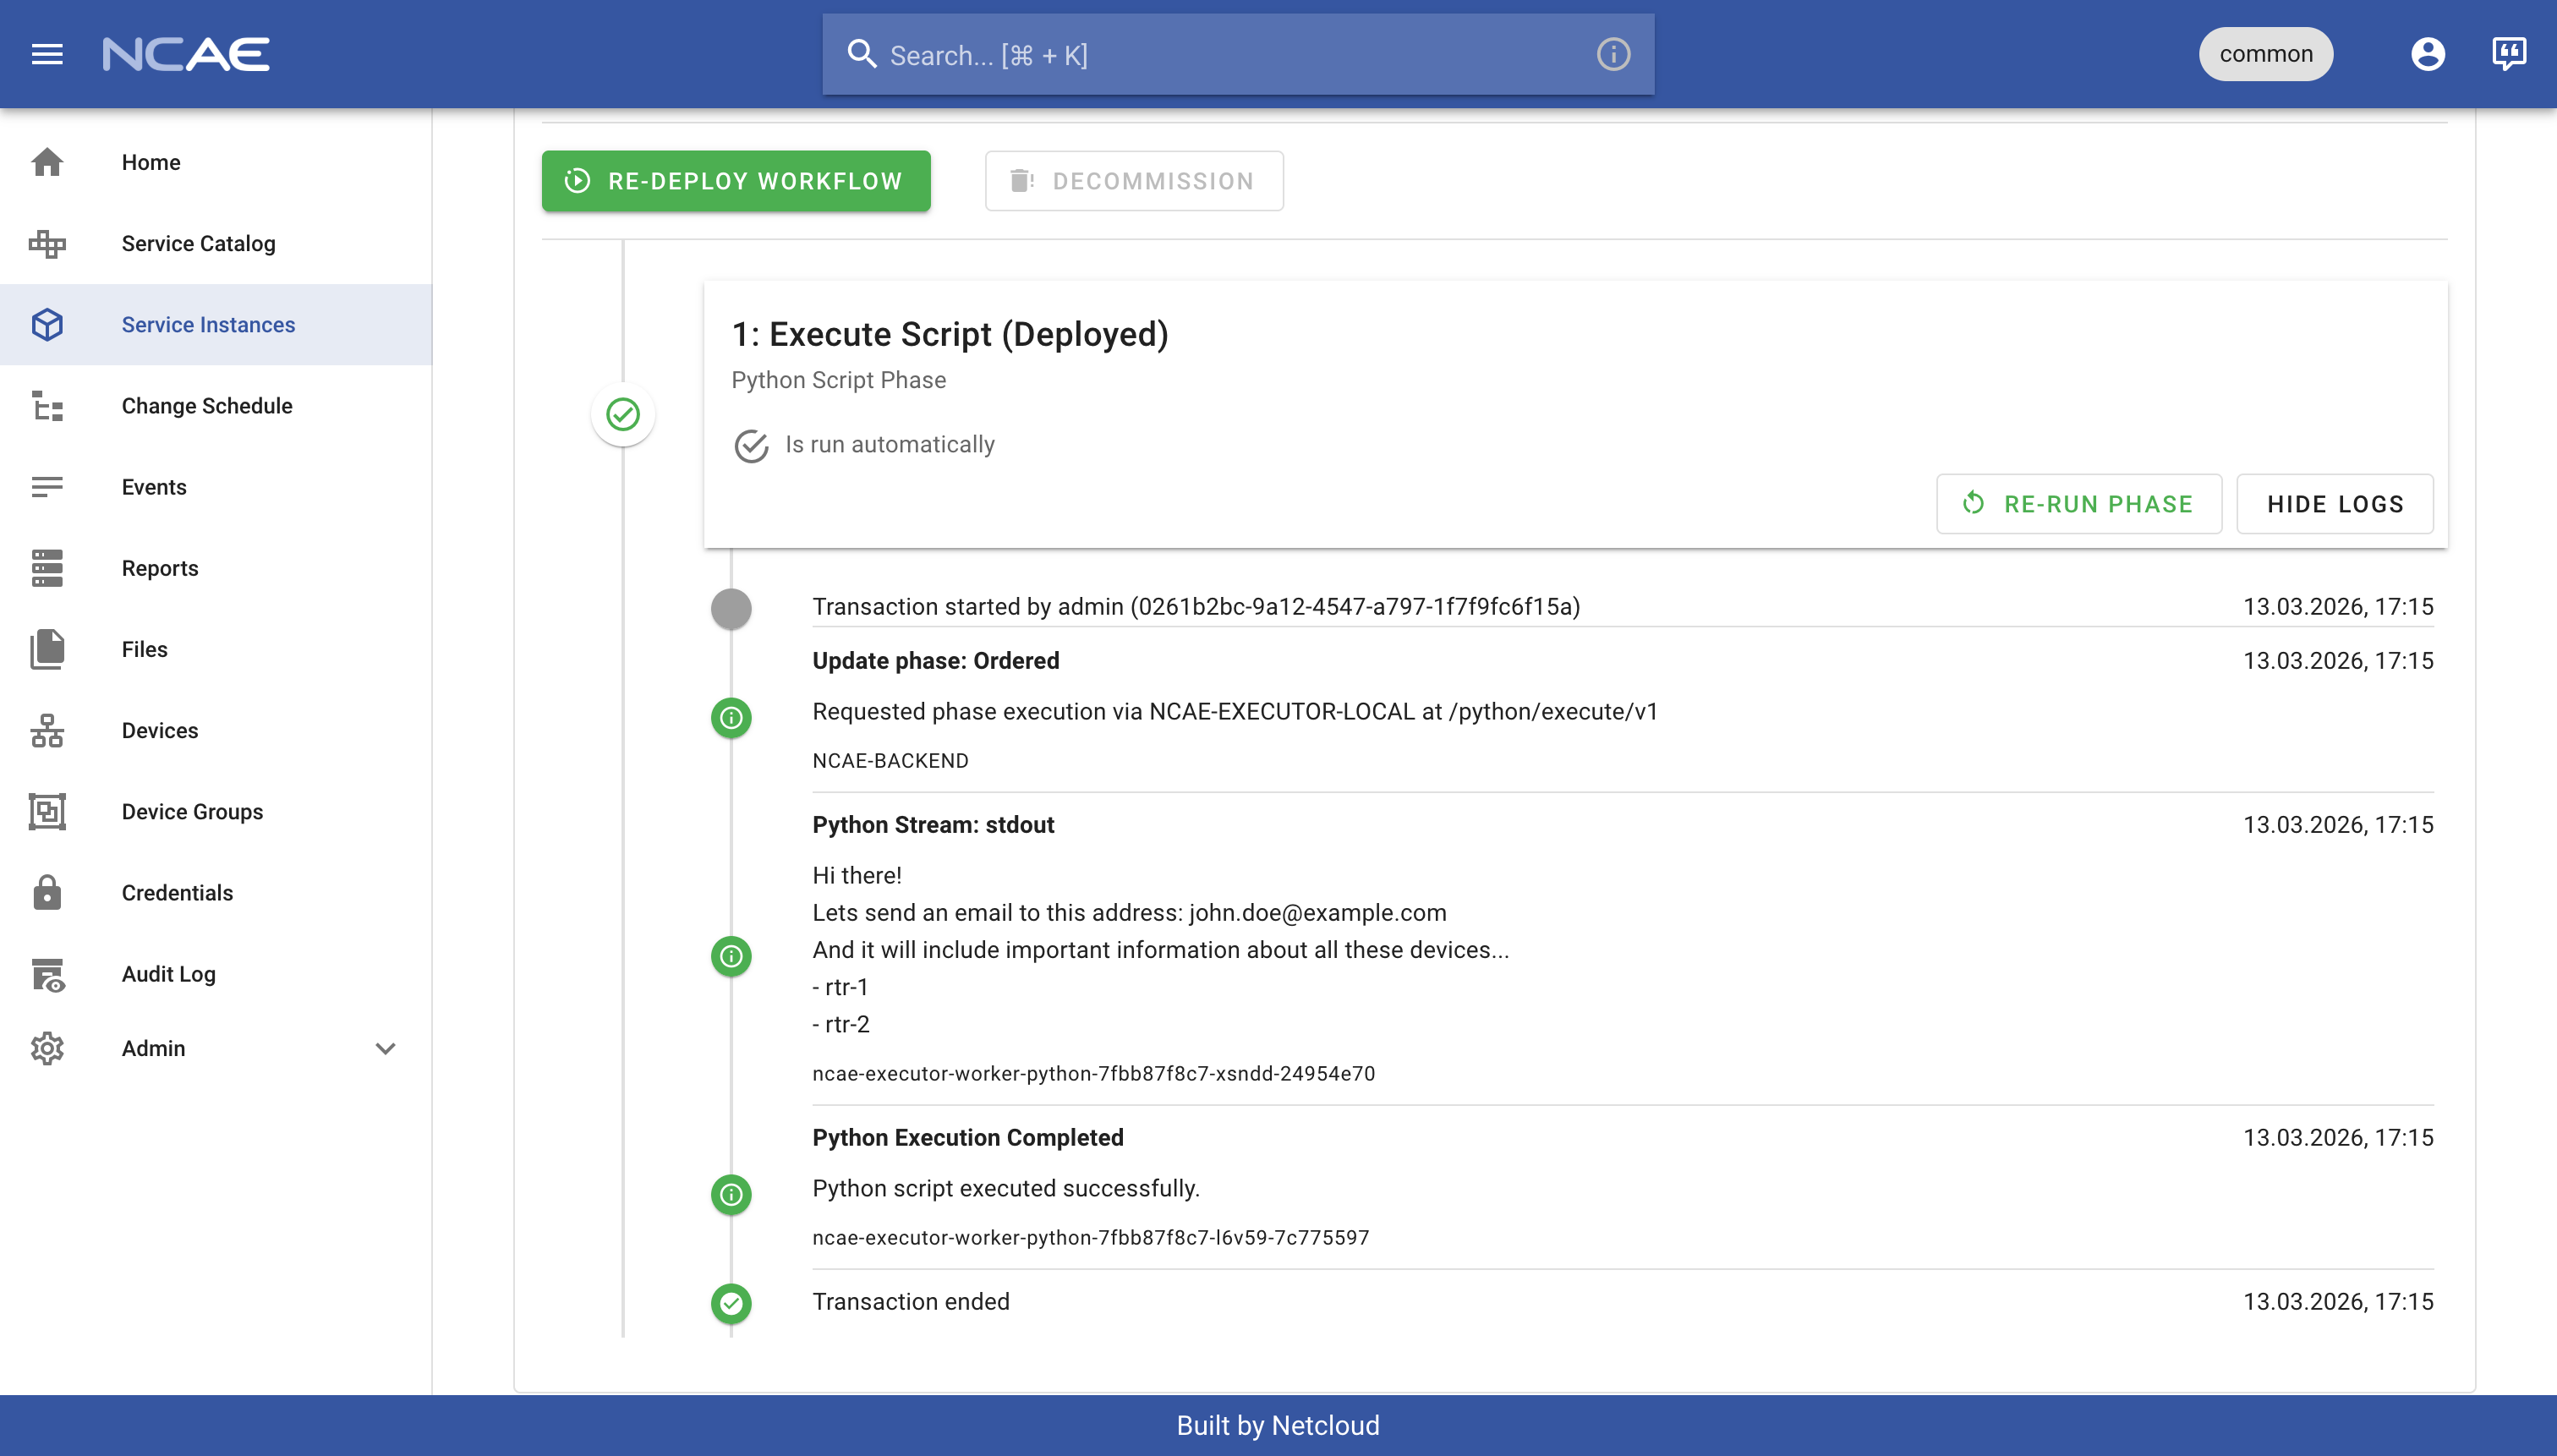
Make sure to check out the logs of your service instance too, and see the output of your Python script phase, which should print the email address you entered in the form along with all selected device names:
If you still have some time left, try the following extra tasks to further familiarize yourself with the NCAE interface:
- Try to update your newly created service instance - change some data of your choice.
- Try to retire your service instance; this will not delete the instance, but it will mark it as retired. See how the same code still executes? This is due to the code currently not checking if its being deployed or retired.
- Try to make some small changes to the Python script phase and rerun your service instance to see the effect of your changes.